Making key lime pie involves a lot of crumbling graham crackers and squeezing fresh limes, so expect sticky fingers and a mess on the counter. The crust needs pressing into the pan, which can be noisy and crumbly, and the filling comes together with a sharp, bright scent from the lime juice. It’s a hands-on process that rewards with a tangy, smooth custard that sets in the fridge.
Eating it means slicing through a crumbly crust that gives way with a satisfying crunch, then scooping up the tart, silky filling. The flavors hit with a punch of citrus, and the chilled, firm texture offers a refreshing contrast to the buttery base. It’s a straightforward dessert but demands attention to detail during prep and patience while it chills.
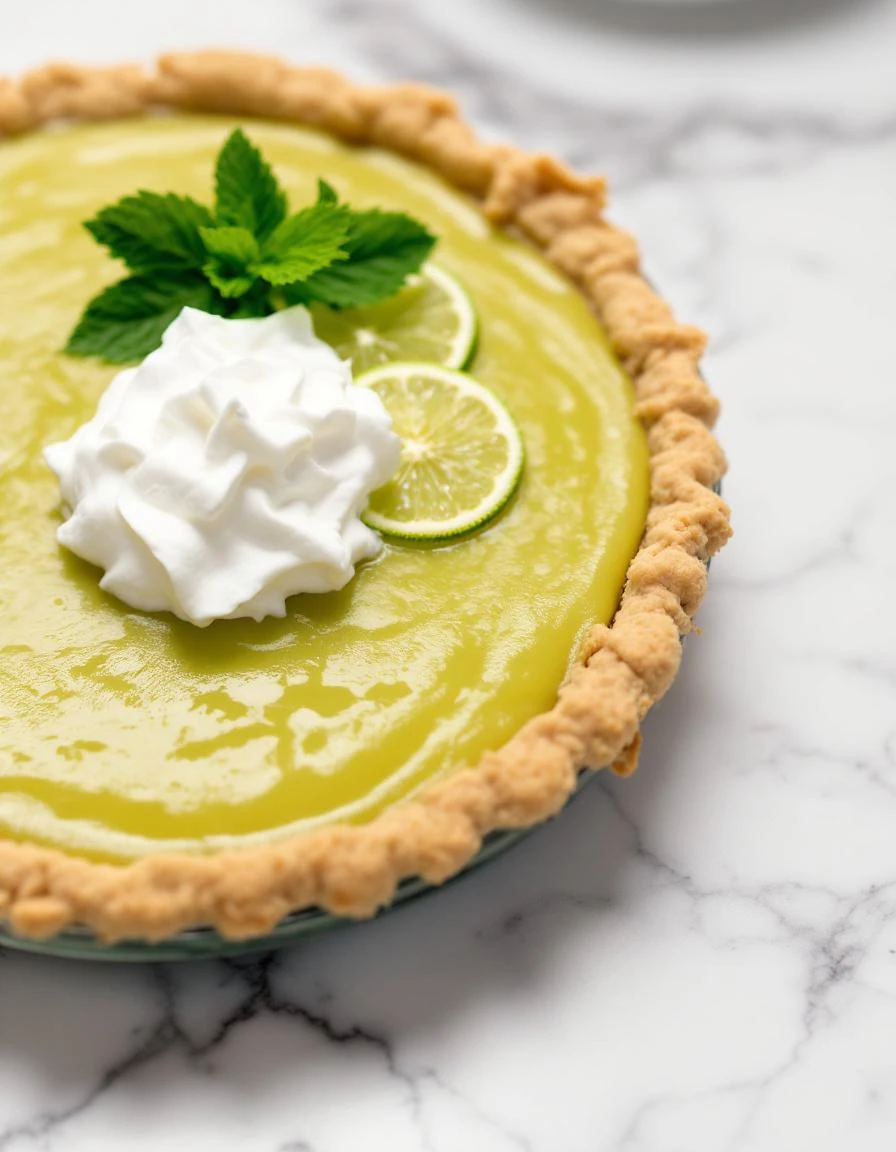
The unsteady crunch of graham cracker crust breaking under the fork, each bite revealing a crumbly, buttery layer contrasted by the zesty, smooth lime filling.
What goes into this dish
- Graham cracker crumbs: I keep these in a bag and crush them with a rolling pin—easy and loud—then mix with butter. Skip this step if you’re gluten-free; try digestive biscuits instead, but the crunch will be a bit softer.
- Sweetened condensed milk: It’s the sweet, creamy backbone of the filling, adding richness and smoothness. If you’re out, evaporated milk mixed with sugar can work, but it’s not quite as luscious and needs a bit more whisking.
- Key lime juice: Bright, tart, and intensely aromatic—freshly squeezed is best, but bottled works in a pinch if it’s pure lime juice. Watch out for the bitter pith; avoid using lemon juice or it’ll skew the flavor.
- Egg yolks: They give the filling its velvety texture and a slight richness. Use fresh eggs; if you’re worried about raw, gently cook the mixture over low heat until just thickened, but don’t scramble it.
- Key lime zest: Adds a burst of citrus aroma along with the juice, making the filling pop. Use a microplane for fine zest; skip if you don’t have limes, but the pie will lose some zing.
- Butter: Melts into the crust, making it tender and flavorful. Unsalted is best so you can control the salt; salted butter will give a slightly more savory edge, which can be nice if balanced well.
- Optional: Sweetened whipped cream for topping—light and airy, it balances the tartness. If you’re dairy-free, coconut cream whipped up with a touch of sugar makes a good substitute, but it’s richer and coconutty.
Key Lime Pie
Ingredients
Equipment
Method
- Mix the graham cracker crumbs with the melted butter in a bowl until well combined and the mixture resembles damp sand.
- Press the crumb mixture evenly into a 9-inch pie pan, starting from the center and working outward to create a firm, even crust. Chill in the freezer for 15 minutes to set.
- In a mixing bowl, whisk together the egg yolks and lime zest until the mixture is smooth and slightly pale, about 1-2 minutes.
- Add the sweetened condensed milk to the egg yolk mixture, whisking until fully incorporated and silky.
- Gradually pour in the fresh lime juice while whisking constantly; the mixture will thicken slightly and turn a vibrant greenish-yellow.
- Pour the filling into the chilled crust, smoothing the top with a spatula. Tap the pie gently on the counter to remove air bubbles.
- Bake the pie in a preheated oven at 350°F (175°C) for 15 minutes, or until the filling is just set but still slightly wobbly in the center.
- Remove the pie from the oven and let it cool to room temperature, then refrigerate uncovered for at least 4 hours or overnight to allow the filling to fully set.
- Once chilled, top with whipped cream if desired for a creamy, sweet finish. Slice and serve cold for a refreshing, tangy treat.
Common mistakes and how to fix them
- FORGOT to pre-bake the crust: it turns soggy; fix by blind baking for 10 minutes until firm.
- DUMPED lime juice directly: makes filling too tart; always add gradually and taste as you go.
- OVER-TORCHED the crust edges: they burn quick; cover edges with foil or a pie shield early.
- SKIPPED chilling time: filling won’t set properly; refrigerate at least 4 hours, preferably overnight.
Make-Ahead and Storage Tips
- The crust can be made a day ahead; keep it wrapped tightly at room temperature or in the fridge.
- Filling can be prepared up to 24 hours in advance; cover and store in the fridge to let flavors meld.
- The pie can be stored in the fridge for up to 3 days, but the crust may lose some crispness over time.
- For longer storage, freeze the whole pie wrapped tightly in plastic wrap and foil for up to 2 months.
- Flavors tend to mellow and deepen after a day or two; the lime brightness might soften slightly.
- Reheat slightly at room temperature or serve chilled; if reheating, warm gently until just slightly soft, then check for the right texture.
FAQs
1. Can I use bottled lime juice?
Use fresh lime juice for that punchy, zesty aroma and bright flavor. Bottled lime juice can work, but it won’t have the same lively tang on your tongue.
2. How do I know when the filling is set?
The pie should be firm but still smooth and slightly silky to the touch. When you cut into it, the filling should hold but give gently under the fork.
3. Should I serve it warm or cold?
Serve it chilled straight from the fridge. The cold enhances the tartness and makes every bite crisp and refreshing, especially on a warm day.
4. What if my crust is soggy?
If the crust feels soggy, pop the pie back in the oven at 350°F for about 10 minutes. It crisps up as it cools, restoring that satisfying crunch.
5. Can I prepare parts of the pie ahead?
You can make the crust a day ahead and keep it wrapped at room temperature or in the fridge. The filling can be made a day in advance and chilled overnight, which helps the flavors meld.

Hi, I’m Katie Dawson, the owner, cook, and storyteller behind Little More Lovely. I run a small café in a cozy corner of Seattle, where the smell of freshly baked bread meets the hum of neighborhood chatter. I’ve spent years learning how food can bring people together, both as a professional and as someone who loves to share meals with family and friends.

