Ingredients
Equipment
Method
- Pat the chicken dry with paper towels to remove excess moisture, especially from the skin, to help it crisp up later.
- Mix paprika, garlic powder, onion powder, salt, and black pepper in a small bowl to create your spice rub.
- Rub the spice mixture all over the chicken, focusing on the skin and inside the cavity for deep flavor.
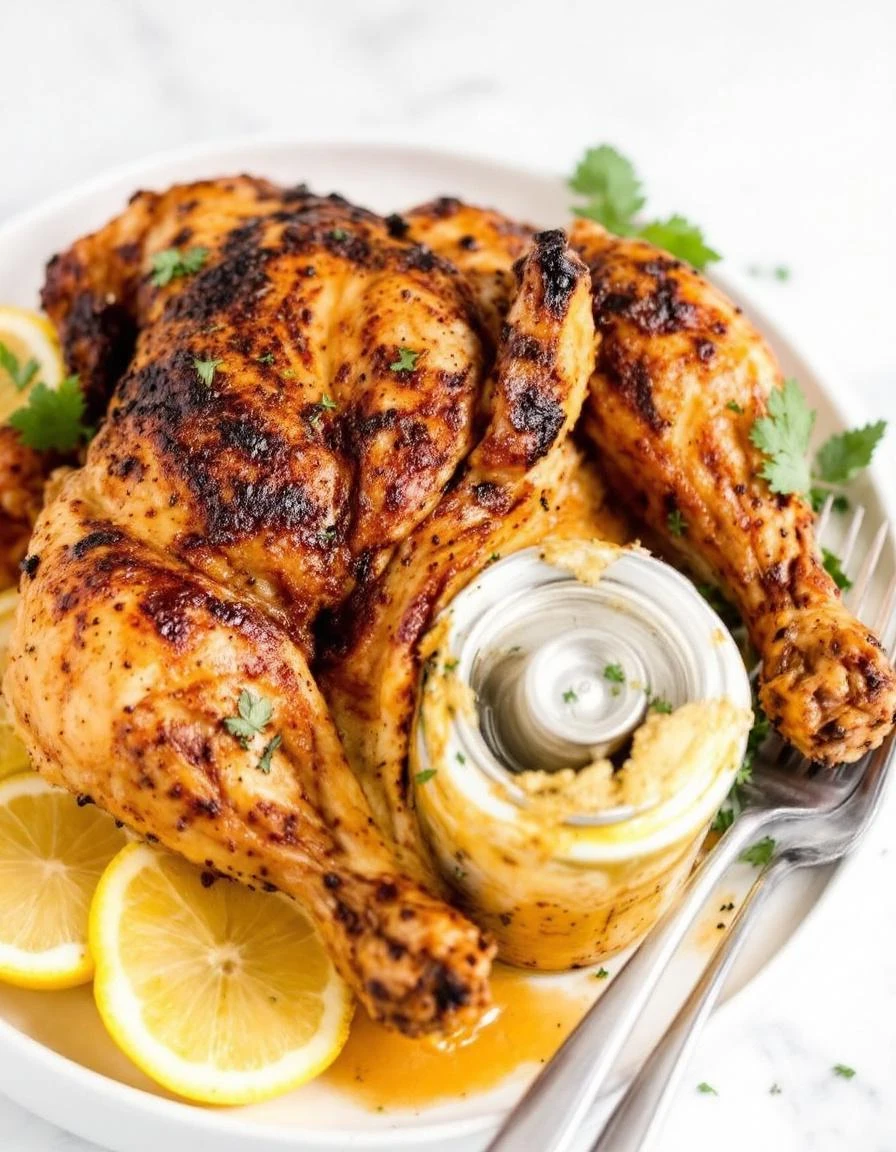
- Stuff the halved lemon inside the cavity of the chicken, which will help brighten and flavor the meat as it cooks.
- Open the can of beer and pour out or drink a small amount to make room for the chicken. Carefully place the chicken upright onto the can, balancing it so the can supports it securely and the chicken stands tall.
- Brush the outside of the chicken generously with olive oil to promote crisping and help the skin develop a beautiful, golden color.
- Preheat your grill to medium-high heat, ensuring the grates are clean and hot enough to sear the skin.
- Carefully place the chicken (standing upright on the can) on the grill grates, making sure it’s stable and balanced.
- Grill the chicken, with the lid closed, for about 50-60 minutes, turning occasionally to promote even cooking and observing the crackling skin as it crisps up and pops.
- Use a meat thermometer to check the internal temperature in the thickest part of the thigh; once it reaches 165°F, the chicken is ready.
- Carefully remove the chicken from the grill using tongs or gloves, allowing it to rest for 10 minutes to let the juices settle before carving.
- Serve the chicken hot, with the crispy skin crackling and smoky aroma enticing each bite—perfect for a summer cookout or family dinner.
Notes
Ensure the chicken is completely dry before applying the rub for maximum crispness. Keep an eye on the skin after 20 minutes to prevent burning, and tent with foil if necessary. Reheat leftovers in a hot oven to re-crisp the skin and enjoy the smoky flavors again.