Making a fruit pizza means spreading sticky, slightly sweet dough that resists your fingers, then pressing it into a pan. Once baked, you get a firm, slightly crumbly crust that needs cooling before topping.
The fruit layer involves slicing berries, kiwis, or melons, which can be messy and juicy. It’s all about stacking and arranging, then dabbing or drizzling with glaze that’s sticky and bright.
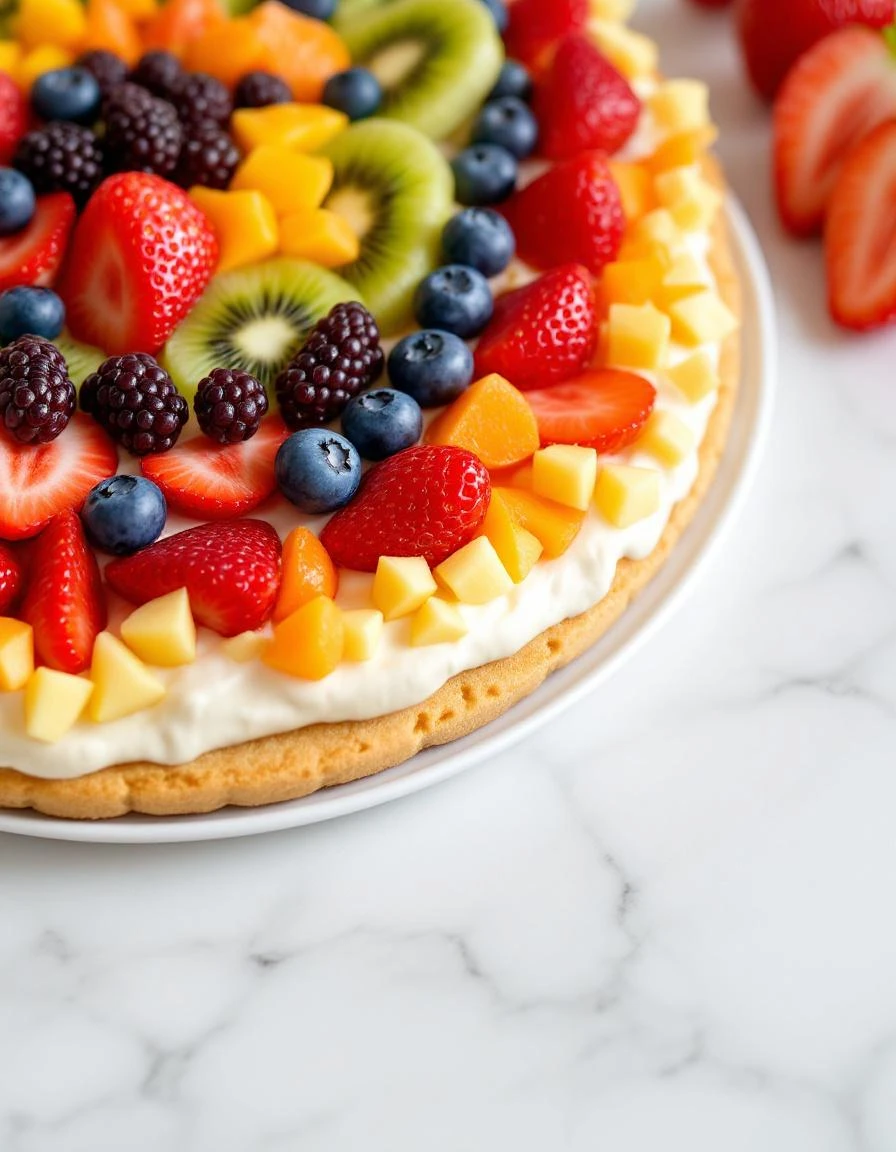
This isn’t a quick whip-up; it’s a process that involves some waiting—cooling, chilling, sometimes even pre-slicing fruit. Handling the toppings can turn into a sticky mess on your counter, so having a plan for clean-up helps. The reward is a structured, colorful mosaic that you cut into squares, revealing layers of fruit and crust.
The satisfying crunch of the cookie crust as you cut through the fruit toppings, each slice revealing a mosaic of vibrant colors and textures.
What goes into this dish
- Flour: I use all-purpose for a tender, slightly chewy base, but almond flour makes it gluten-free and nutty—skip if you’re avoiding nuts. The dough can be a bit sticky, so flour your hands when pressing it into the pan.
- Butter: I prefer unsalted, melted until it’s fragrant and just starting to brown—adds a rich, toasted note. You can swap with coconut oil for a subtle tropical flavor, or skip butter altogether for a vegan crust.
- Sugar: Granulated works best here for sweetness and structure, but honey or maple syrup can substitute, adding a different aroma—think caramel or smoky. Use less if you want it less sweet.
- Fresh Fruit: I love berries, kiwis, and melons for their bright flavors and textures, but canned peaches or pineapple work if fresh isn’t available—drain well to avoid sogginess. Banana slices turn brown quickly, so add just before serving.
- Glaze: I melt a bit of apricot jam with lemon juice for shine and a zing—skip or replace with honey for a thicker, sweeter coating. It helps seal the fruit and adds a glossy finish that catches the light.
- Optional toppings: Mint leaves or chopped nuts add crunch and freshness—skip if allergies or allergies are a concern. These can be added right before serving for maximum crunch.
- Cookie base: I often use store-bought sugar cookie dough to save time, but homemade dough gives a more substantial crunch—feel free to experiment with textures or flavors like ginger or cinnamon.
Colorful Fruit Pizza
Ingredients
Equipment
Method
- In a mixing bowl, combine flour and sugar, then fold in the melted butter and egg until the dough just comes together and is slightly sticky.
- Press the dough evenly into a greased baking pan, using floured hands to smooth the surface. Chill in the fridge for 15 minutes to relax the dough.
- Bake the crust in a preheated oven at 350°F (175°C) for 15 minutes or until golden brown. Remove from oven and let cool completely on a wire rack.
- While the crust cools, prepare the fruit by slicing berries, kiwis, and melons into thin, even pieces for easy arrangement.
- Arrange the sliced fruit on the cooled crust in a colorful mosaic pattern, starting from the center and working outward for an even, eye-catching display.
- In a small bowl, melt the apricot jam with lemon juice, then brush lightly over the fruit to add shine and help seal the toppings.
- If desired, sprinkle chopped mint leaves or nuts over the top for added texture and freshness.
- Slice the fruit pizza into squares with a sharp knife, feeling the satisfying crunch of the crust and the juicy, colorful fruit layers.
- Serve immediately for the freshest flavor or refrigerate for up to 24 hours, reapplying a light glaze before serving if needed.
Common Mistakes and How to Fix Them
- FORGOT to cool the crust completely before topping? Chill it for at least 30 minutes to prevent sogginess.
- DUMPED too much fruit on? Keep toppings moderate to avoid a sagging, overflowing pizza.
- OVER-TORCHED the edges? Cover with foil or lower the oven temp mid-bake to prevent burning.
- MISSED the glaze step? Apply it while fruit is still slightly warm for a shiny, tacky finish.
Make-Ahead and Storage Tips
- You can prep the crust and bake it a day ahead; store it in an airtight container at room temperature for up to 24 hours.
- Slice and arrange the fruit the day before; keep in separate covered containers in the fridge for up to 24 hours, but add softer fruits last minute to prevent sogginess.
- Apply the glaze just before serving; if made in advance, keep refrigerated and reapply a light layer to restore shine and freshness.
- Refrigerate leftovers for up to 2 days; the fruit may soften and the crust might absorb moisture, changing the texture slightly.
- To serve again, let the pizza sit at room temperature for 10-15 minutes, then re-glaze or add fresh fruit for a crisp, bright finish.
FAQs
1. How do I get clean slices?
Use a sharp knife to cut through the fruit and crust, feeling the satisfying crunch as you slice into the firm base and juicy toppings.
2. How can I prevent sogginess?
Keep the fruit dry and chilled before topping; excess moisture can make the crust soggy and dull the crunch.
3. How long can I store leftovers?
Refrigerate the assembled pizza for up to a day; the fruit softens slightly, but the flavors meld and intensify.
4. Can I reheat it?
Warm the slices slightly in the oven at low temp, just enough to bring back a gentle crunch and brighten the fruit’s aroma.
5. What’s the best fruit to use?
Use ripe, fragrant fruits for the best flavor and aroma; a lemon-bright glaze adds a glossy, tangy finish that wakes everything up.

Hi, I’m Katie Dawson, the owner, cook, and storyteller behind Little More Lovely. I run a small café in a cozy corner of Seattle, where the smell of freshly baked bread meets the hum of neighborhood chatter. I’ve spent years learning how food can bring people together, both as a professional and as someone who loves to share meals with family and friends.

