This fantasy fudge recipe isn’t your average sweet treat. It’s a little rebel in the world of candies, with a whisper of magic that turns simple ingredients into something unexpectedly luxurious. I stumbled on it during a chaotic holiday baking spree and found it to be simple but wildly impressive.
What makes this fudge special isn’t just the taste — it’s the ritual of making it. Stirring molten chocolate, watching it set into a shiny, crackly surface, feels like casting a spell. It’s perfect for those moments when you want to create something indulgent without fuss, but with a touch of enchantment.
Why This Fudge Keeps Calling Me Back
This fudge is a nostalgic shortcut to childhood bliss, like a secret weapon for quick joy. I keep returning to it when I need a moment of calm and a rich, sweet hit that feels like a warm hug. It’s simple, honest, and always hits the spot, no matter how often I make it. That little burst of magic in every bite keeps me coming back, season after season.
Magic Ingredients of Fantasy Fudge
- Dark chocolate: Rich, intensely cocoa, melts into a glossy, velvety base. Use high-quality for that deep, complex flavor—skip the cheap stuff, it shows.
- Sweetened condensed milk: Thick, sweet, and creamy—adds that fudgy, gooey texture. Swap with evaporated milk plus sugar if you prefer less sweetness or want a lighter touch.
- Butter: Salted butter for richness and sheen. Unsalted works fine, just add a pinch of salt to balance the sweet—smells like caramel when melted.
- Vanilla extract: A splash of vanilla brightens everything—use pure vanilla for that warm, aromatic note. If you’re out, a drop of almond extract can lend a subtle twist.
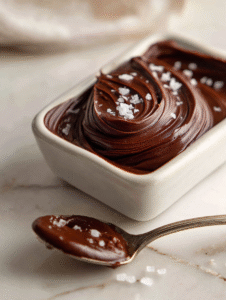
- Sea salt flakes: Sprinkled on top for contrast—creates a burst of flavor and enhances the chocolate. Kosher salt also works but won’t shimmer as much.
- Optional flavorings: A pinch of chili powder or a dash of espresso powder can add depth—think smoky heat or a mocha kick to surprise your palate.
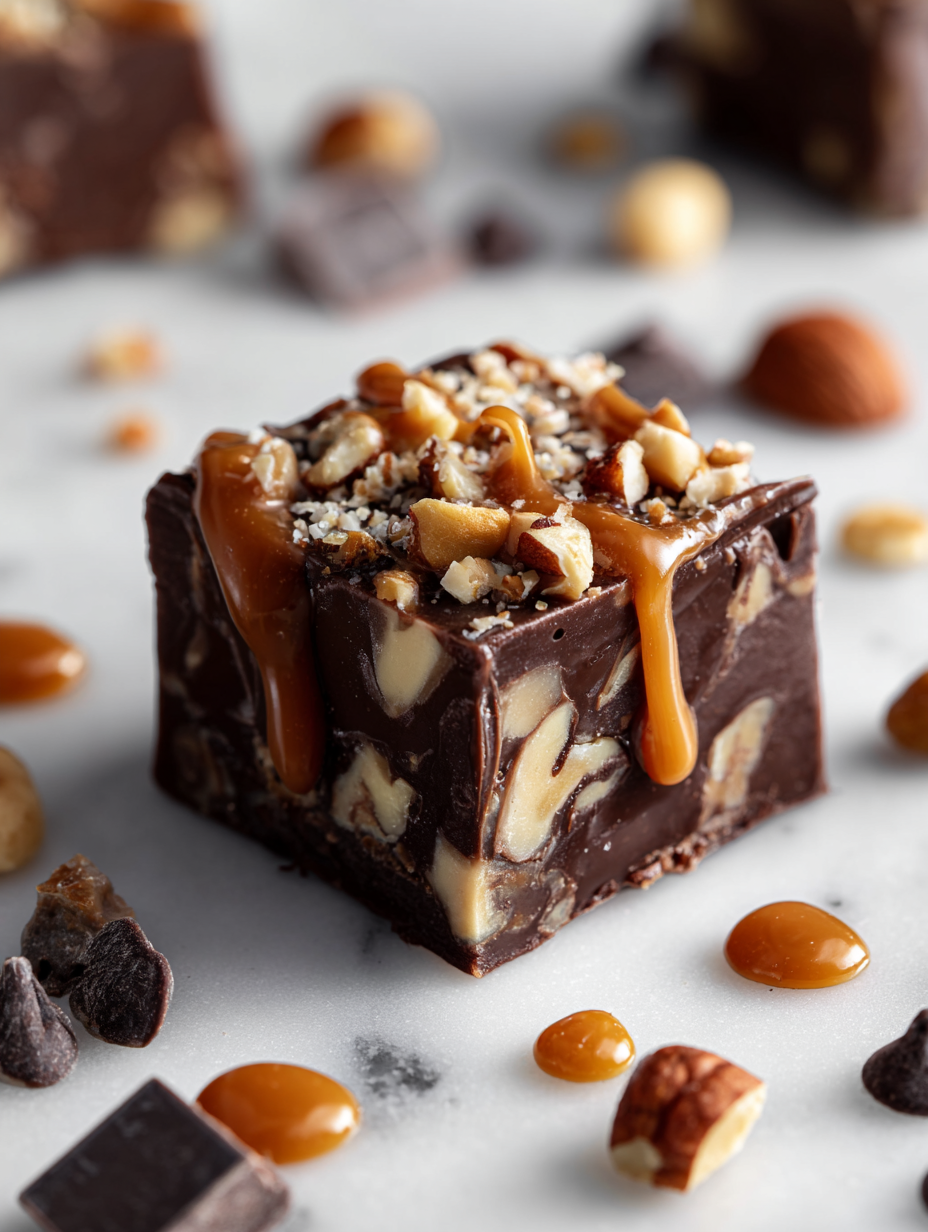
- Decorative touches: Crushed nuts, edible glitter, or a drizzle of caramel—personalize your fudge to make it feel truly yours, a little extra magic for the eyes.
Tools for Magical Fudge Making
- Heavy-bottomed saucepan: Ensures even heat distribution to prevent scorching the chocolate and milk mixture.
- Rubber spatula: Scrapes down the sides of the pan and folds ingredients smoothly without breaking the fudge’s glossy surface.
- Measuring cups and spoons: Accurately measures ingredients, especially for delicate additions like vanilla or sea salt flakes.
- Baking dish or pan: Catches the fudge as it sets; a square pan roughly 20cm or 8 inches works well.
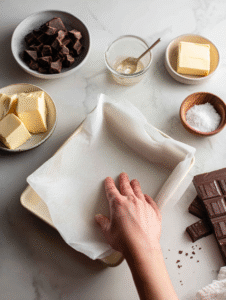
- Parchment paper: Lining the pan makes removal and cutting easier, and prevents sticking.
- Candy thermometer: Optional, but useful to monitor temperature if you want precise control during melting.
- Cooling rack: Allows air circulation around the fudge after pouring, helping it set evenly.
- Gather all your equipment: a heavy-bottomed saucepan, a rubber spatula, measuring cups, a square baking pan, parchment paper, and a candy thermometer if you have it.
- Chop the dark chocolate into small, even pieces to ensure it melts quickly and uniformly.
- In the saucepan, combine the chopped chocolate, sweetened condensed milk, and butter. Heat over low, around 50°C (122°F), stirring constantly.
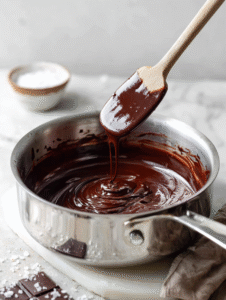
- Continue stirring until the mixture is smooth, glossy, and fully melted. This takes about 5-7 minutes; watch for a velvety texture and rich aroma.
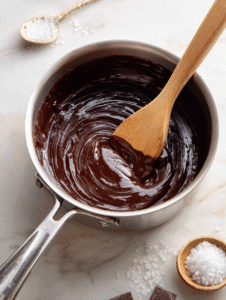
- Remove from heat and stir in vanilla extract and a pinch of sea salt flakes. Mix well to evenly distribute the flavors.
- Pour the hot fudge into your prepared pan lined with parchment, smoothing the surface with the spatula.
- Let the fudge sit at room temperature for about 15 minutes, then transfer to the fridge to set. Chill for at least 2 hours until firm.
- Once set, check if the fudge is ready: it should be firm but not hard, with a shiny crackly top. It should cut cleanly without crumbling.
- Cut into squares with a sharp knife. If the edges crack, it’s just a sign it’s perfectly set and ready to enjoy.
- For best flavor, let the fudge sit at room temp for 10 minutes before serving to soften slightly and enhance the rich cocoa aroma.
Fantasy Fudge
Ingredients
Equipment
Method
- Gather all your equipment: a heavy-bottomed saucepan, a rubber spatula, measuring cups, a square baking pan, parchment paper, and a candy thermometer if you have it.
- Chop the dark chocolate into small, even pieces to help it melt quickly and smoothly.
- Pour the chopped chocolate, sweetened condensed milk, and butter into the saucepan.
- Heat the mixture over low heat, stirring constantly with a rubber spatula. Keep an ear out for the gentle bubbling and watch for the mixture to become glossy and smooth, about 5-7 minutes.
- Once fully melted and shiny, remove from heat and stir in the vanilla extract and a pinch of sea salt flakes for added flavor.
- Line your baking pan with parchment paper, then pour the hot fudge mixture into it, smoothing the top with your spatula.
- Let the fudge sit at room temperature for about 15 minutes to cool slightly, then transfer it to the fridge to set for at least 2 hours.
- Once set, check if the fudge is firm but still shiny with a crackly top. It should cut cleanly into squares.
- Use a sharp knife to cut the fudge into squares, wiping the blade clean between cuts for neat edges.
- For the best flavor and texture, let the fudge sit at room temperature for 10 minutes before serving, allowing it to soften slightly and release its rich cocoa aroma.
Notes

Hi, I’m Katie Dawson, the owner, cook, and storyteller behind Little More Lovely. I run a small café in a cozy corner of Seattle, where the smell of freshly baked bread meets the hum of neighborhood chatter. I’ve spent years learning how food can bring people together, both as a professional and as someone who loves to share meals with family and friends.

