I used to think watermelon pops were just a summer thing, cool sweet cubes on a stick. Turns out, they have roots in ancient preservation methods—cutting fruit into cold, portable bites to survive long journeys or heatwaves. It’s a small reminder that what feels trendy now often has history buried in it, sitting just beneath the surface.
Right now, with heat waves creeping in and everyone craving a cool-down, these pops aren’t just another snack. They’re a tiny rebellion against the heavy, processed stuff people grab. Plus, they smell like fresh watermelon, with a hint of mint if you add it, and the smooth texture melts faster than you think. There’s something satisfying about that pure, simple bite.
Maybe it’s nostalgia, or maybe it’s just that I like knowing I can turn a chunk of watermelon into a frozen face plant on a stick. Whatever, it’s good—really good—how a handful of ingredients can suddenly feel so… meaningful.
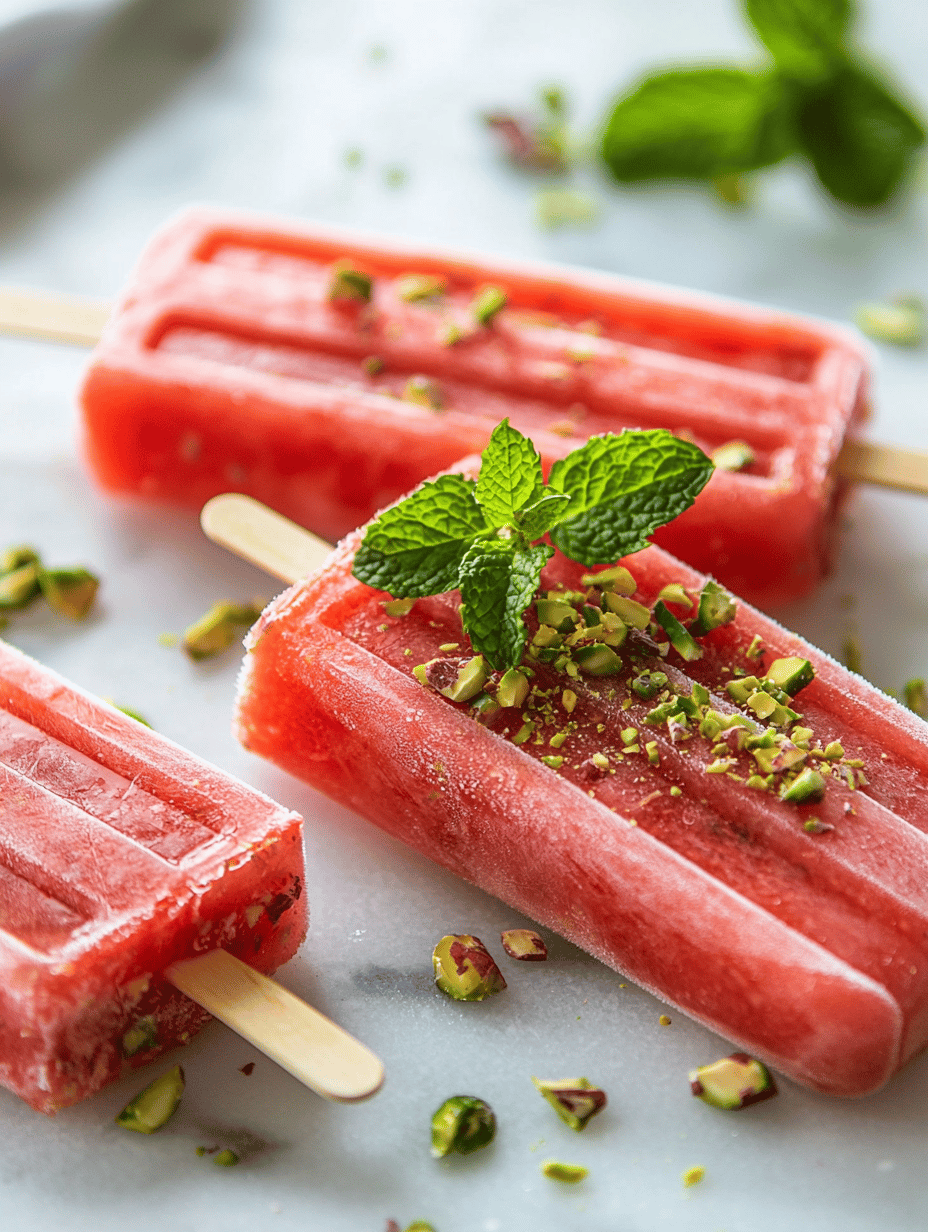
Watermelon Popsicles
Ingredients
Equipment
Method
- Place the watermelon chunks into the blender and add fresh mint leaves if using.4 cups watermelon chunks
- Blend on high speed until the mixture is completely smooth and vibrant red, with no large chunks remaining. This should take about 30 seconds to 1 minute.
- Pour the blended mixture evenly into the ice pop molds, leaving about 0.5 inch of space at the top to allow for expansion during freezing.
- Insert the popsicle sticks into the molds, ensuring they are centered and straight. Place the molds on a flat surface in the freezer.
- Freeze the popsicles for at least 4 hours, or until fully solid. The mixture should be firm and have a glossy appearance, with no visible liquid.
- To serve, run warm water briefly over the outside of the molds to loosen the popsicles, then gently pull them out. Enjoy immediately for best texture.
So yeah, I probably won’t forget that story the next time I kidsnap a watermelon for myself—just to get some ice-cold, sugary relief. It’s almost funny how something so small can carry so much weight, even if it’s just in the shape of a popsicle.
Hi, I’m Katie Dawson, a paediatric speech-language pathologist by day and a passionate food storyteller by night. Based in Seattle but with a love for global flavours (and a soft spot for Indian chai), I created this blog to bridge the gap between therapeutic nutrition and the simple joy of eating.
