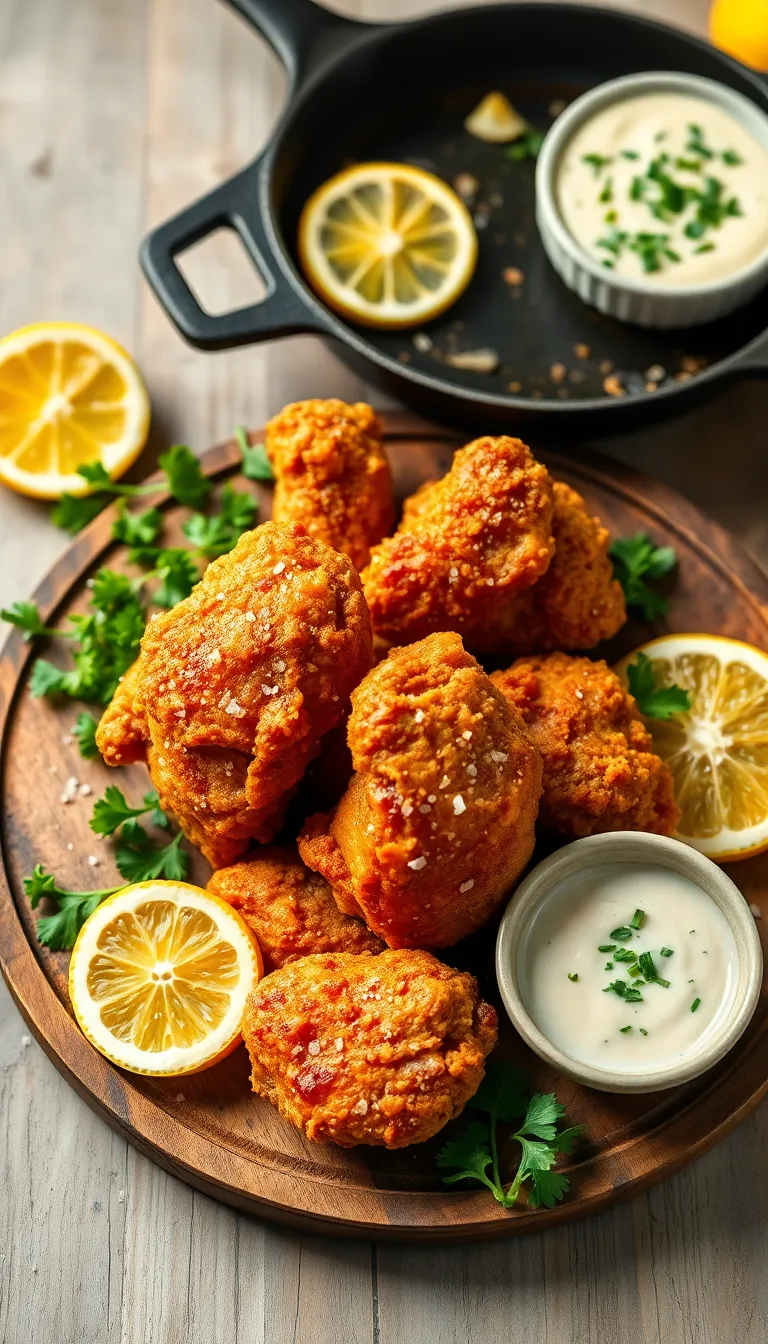
Imagine sinking your teeth into a piece of perfectly fried chicken, where the crispy, golden-brown crust gives way to juicy, tender meat. Whether you’re a kitchen newbie or a seasoned pro, this recipe offers a simple yet rewarding culinary journey. The secret lies in a well-seasoned marinade that infuses every bite with a mouthwatering blend of spices, creating an irresistible symphony of flavors.
This fried chicken isn’t just a meal; it’s an experience that tantalizes your senses with its crackling sound, enticing aroma, and satisfying texture. With our step-by-step guidance, you’ll confidently craft a dish that will have friends and family eagerly reaching for seconds. Prepare to be amazed as you create a timeless favorite that embodies comfort and joy in every delicious mouthful.
About This fried chicken Recipe

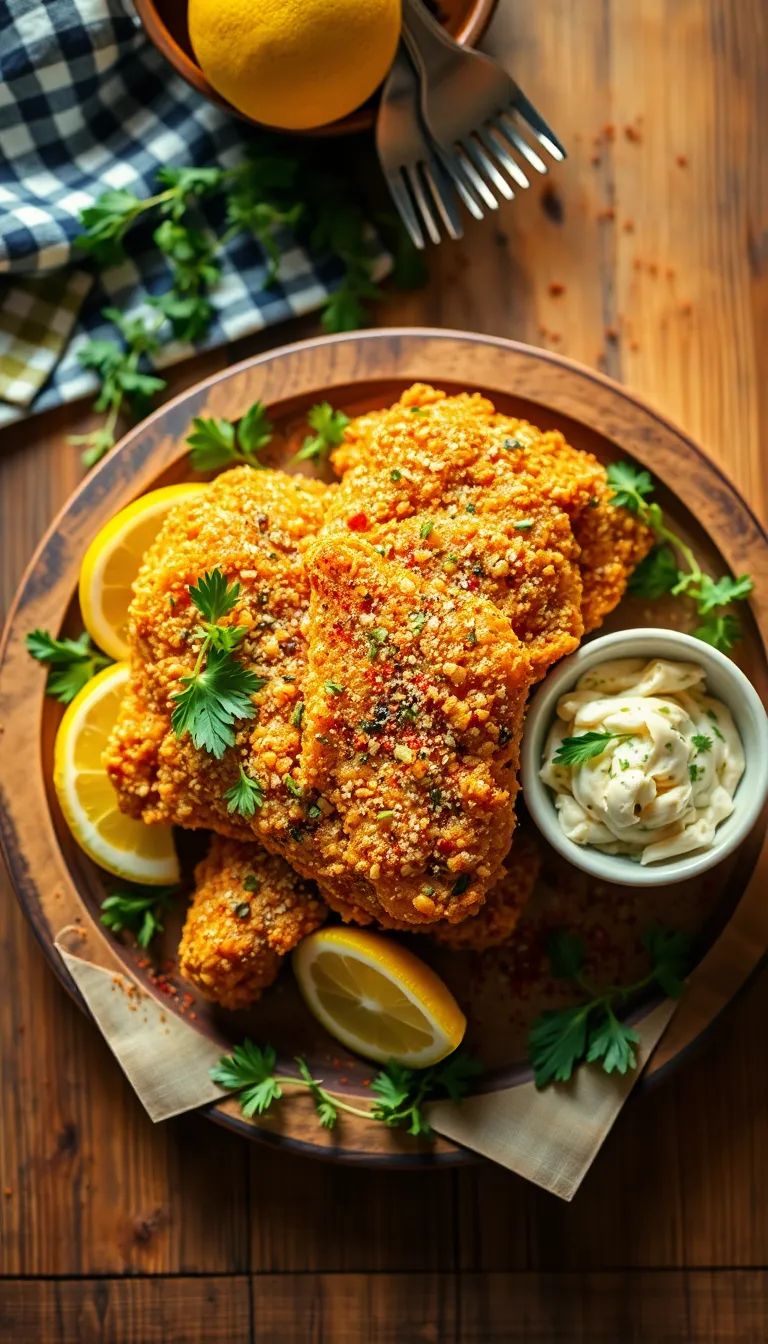
- Crispy Perfection: This fried chicken recipe delivers a mouthwatering, golden-brown crust that’s perfectly crispy, ensuring each bite is a satisfying crunch.
- Flavorful Marinade: Infused with a blend of spices and buttermilk, the chicken is incredibly juicy and packed with flavor from the inside out.
- Easy to Follow: With simple steps and minimal ingredients, this recipe is perfect for both beginners and seasoned cooks looking for a reliable fried chicken method.
- Family Favorite: A crowd-pleaser for gatherings and weeknight dinners alike, this dish is sure to become a beloved staple in your meal rotation.
- Customizable Spice Level: Adjust the heat to your preference, making it suitable for everyone’s taste buds, from mild to fiery.
- Time-Saving Tips: With a few prep-ahead techniques, you can have delicious fried chicken on the table in no time, making it ideal for busy schedules.
Why You’ll Love This Recipe
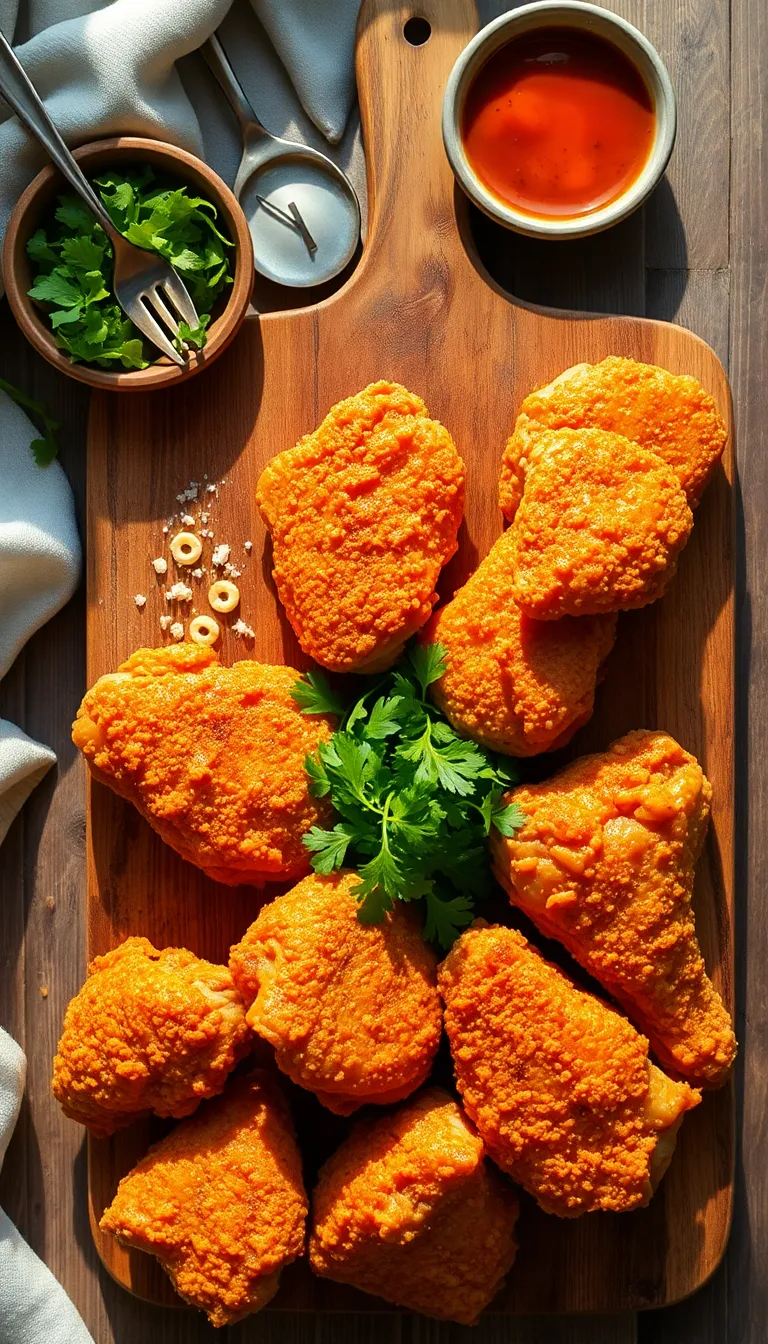
- Incredibly Crispy Texture: Achieve a perfectly crispy coating that locks in all the juices, giving you the ultimate crunch with every bite.
- Flavor-Packed Marinade: This recipe uses a unique blend of spices in the marinade, infusing the chicken with rich, savory flavors that set it apart.
- Quick and Easy Method: Designed with busy cooks in mind, this recipe streamlines the frying process without sacrificing taste or texture.
- Perfect for Any Occasion: Whether it’s a family dinner or a party, this fried chicken is sure to impress guests with its irresistible taste.
- Customizable Spice Level: Easily adjust the heat to suit your preference, making it a versatile recipe for everyone at the table.
- Healthier Option: Use a light oil for frying and enjoy a delicious meal that’s a bit lighter on calories without compromising on flavor.
Ingredients
- 1 whole chicken, cut into pieces (approximately 3-4 pounds)
- 2 cups buttermilk
(Can substitute with 2 cups of milk mixed with 2 tablespoons of lemon juice or vinegar)
- 2 cups all-purpose flour
- 1/4 cup cornstarch
(Adds extra crispiness to the coating)
- 1 tablespoon garlic powder
- 1 tablespoon onion powder
- 1 tablespoon paprika
- 1 teaspoon cayenne pepper
(Adjust for desired heat level)
- 1 tablespoon salt
- 1 teaspoon black pepper
- 1 teaspoon dried thyme
- 1 teaspoon dried oregano
- Vegetable oil for frying
(Ensure enough oil to submerge the chicken pieces)
- Honey (optional)
(For drizzling over the fried chicken)
- Lemon wedges (optional)
(For serving)
Ingredients
Kitchen Tools You’ll Need
- Mixing Bowl: Used to combine the chicken with the marinade and coating ingredients. A large bowl is ideal to ensure even coating.
- Tongs: Essential for turning the chicken pieces comfortably during frying, ensuring even cooking and safety from hot oil splashes.
- Heavy-Duty Deep Frying Pan or Dutch Oven: Necessary for frying the chicken. A deep, heavy pot helps maintain a consistent oil temperature. If unavailable, a deep skillet can be used.
- Meat Thermometer: Helps ensure the chicken is cooked to the perfect internal temperature of 165°F, preventing overcooking or undercooking.
- Wire Rack: Placed over a baking sheet, it allows fried chicken to drain excess oil and stay crispy. If you don’t have one, use a plate lined with paper towels.
- Slotted Spoon: Useful for removing chicken from the oil, allowing excess oil to drain off. An alternative is a spider strainer.
- Plastic Wrap or Food Storage Bags: For marinating the chicken, ensuring flavors penetrate deeply. A covered bowl can also work if these are unavailable.
Preparation Steps
- Heat the oil in a large, deep skillet or Dutch oven to 350°F (175°C). Ensure the oil is hot enough by testing with a small piece of bread, which should sizzle and turn golden in about 60 seconds.
- Pat the chicken pieces dry with paper towels. Removing excess moisture is crucial for achieving a crispy coating.
- Season the chicken generously with salt, pepper, and your choice of spices. Ensure even coverage for consistent flavor.
- In a shallow dish, whisk together flour, baking powder, and any additional seasonings. Create a well-blended mixture to ensure uniform coating.
- Dredge each piece of chicken in the flour mixture, pressing down to adhere, then shake off excess. The coating should be even and cling well to the chicken.
- Carefully place the chicken in the hot oil, skin side down. Fry in batches to avoid overcrowding, cooking each side for about 8-10 minutes until golden brown and crispy. The internal temperature should reach 165°F (74°C) as measured by a meat thermometer.
- Transfer the fried chicken to a wire rack set over a baking sheet to drain excess oil. This helps maintain crispness by allowing air circulation.
- Let the chicken rest for at least 5 minutes before serving. This allows the juices to redistribute, ensuring moist, flavorful meat.
Final Thoughts: With these preparation steps, you’ll be able to create perfectly crispy and flavorful fried chicken. Remember, the key to success is maintaining the right oil temperature and ensuring even seasoning and coating. Enjoy your delicious homemade fried chicken!
Serving Suggestions
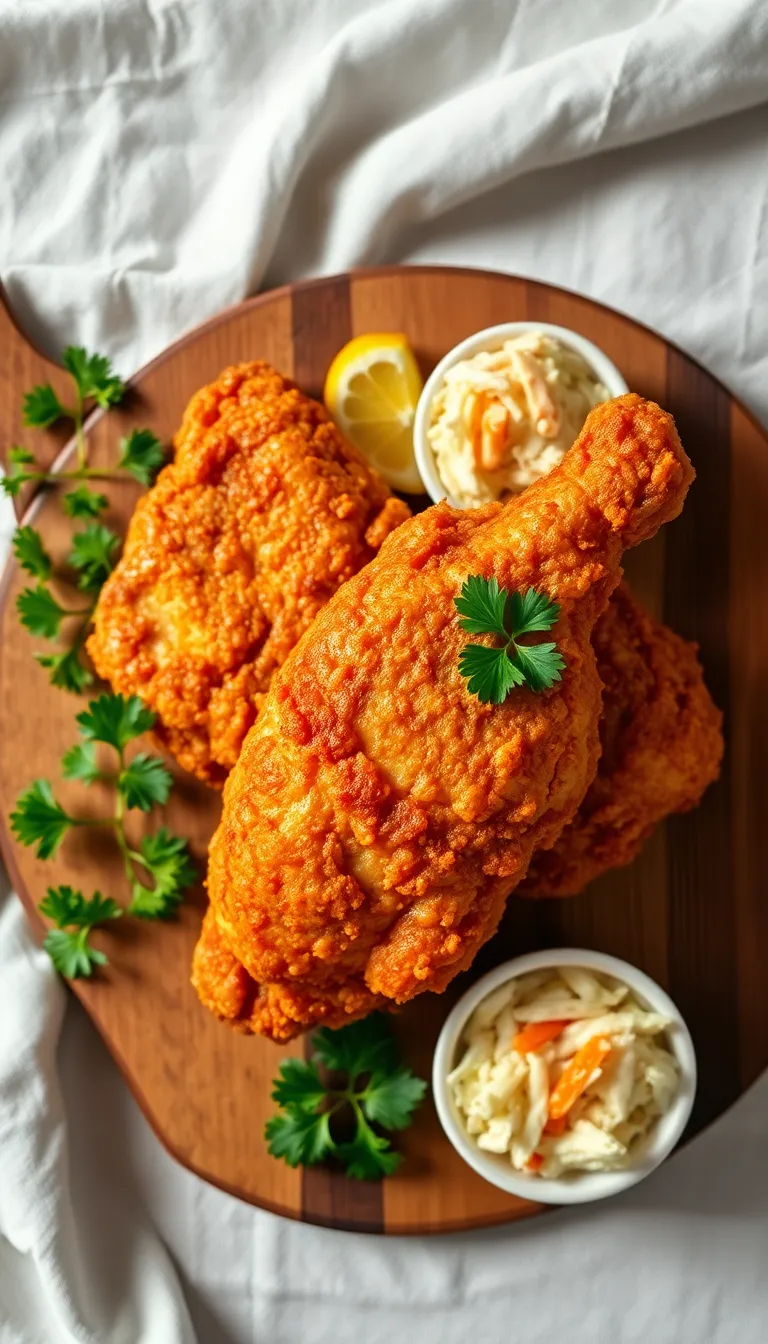
- Classic Coleslaw: Serve the fried chicken with a side of creamy coleslaw. The refreshing crunch and tangy dressing provide a delightful contrast to the crispy, savory chicken.
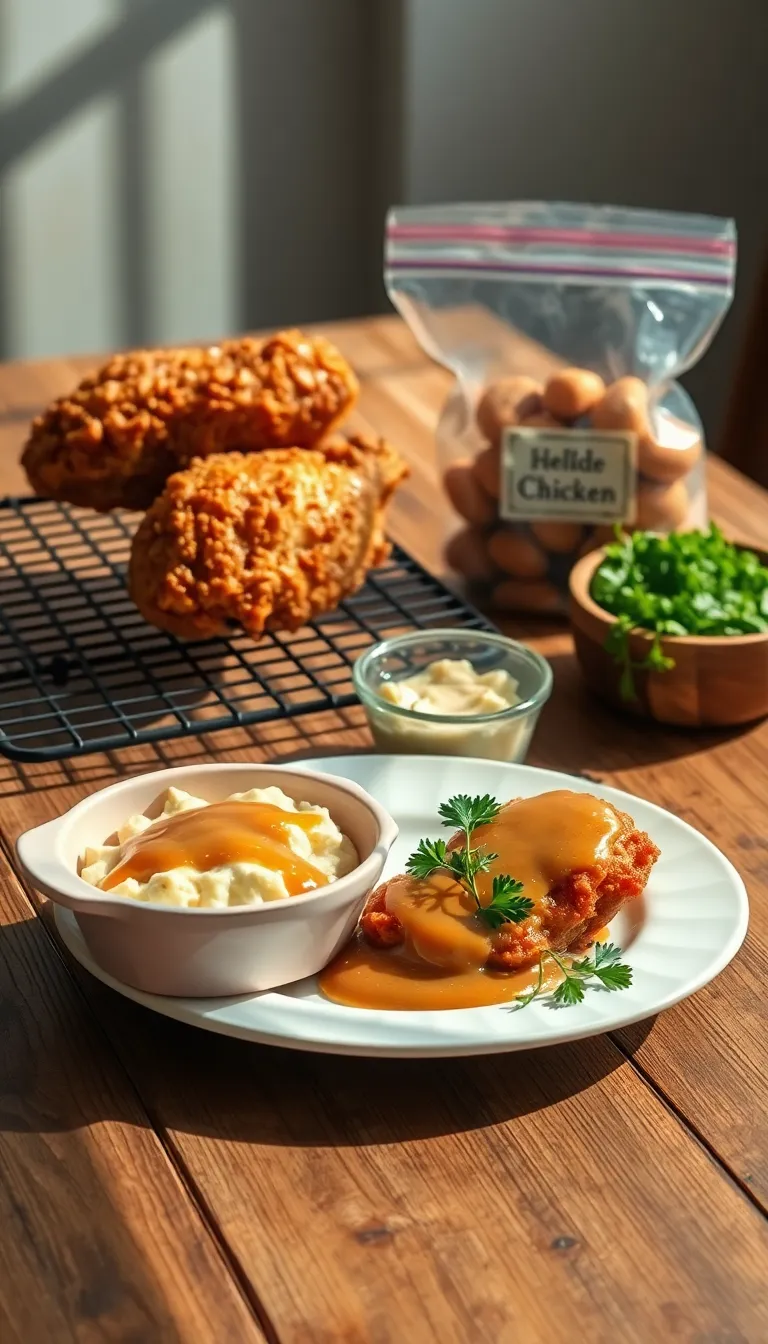
- Mashed Potatoes and Gravy: Pair the fried chicken with fluffy mashed potatoes and rich gravy. This comforting combination makes for a hearty meal that is perfect for family dinners.
- Biscuits and Honey: Accompany the fried chicken with warm, buttery biscuits drizzled with honey. The sweetness of the honey complements the savory chicken, making it a great choice for brunch or a casual lunch.
- Garden Salad: Balance the richness of the fried chicken with a fresh garden salad. Use mixed greens, cherry tomatoes, and a light vinaigrette to add a healthy touch to your meal.
- Iced Tea or Lemonade: For a refreshing beverage, serve the fried chicken alongside a glass of iced tea or lemonade. These drinks are perfect for cutting through the richness of the dish and are ideal for a summer picnic.
- Herb Garnish: Enhance the presentation and flavor by garnishing the fried chicken with fresh herbs like parsley or thyme. This adds a pop of color and a slight herbal note that complements the dish.
Pro Tips for Perfect Results

- Brine for Juiciness: Soak the chicken pieces in a simple saltwater brine for at least 2 hours before frying. This enhances moisture retention and flavor, ensuring succulent chicken.
- Double Dredge Technique: For an extra crispy coating, dredge the chicken in flour, dip it back into the buttermilk, then dredge it in flour again before frying. This creates a thicker, crunchier crust.
- Rest After Dredging: Allow the dredged chicken to rest on a wire rack for about 15 minutes before frying. This helps the coating adhere better and prevents it from falling off during cooking.
- Use a Thermometer: Maintain the oil temperature between 325°F and 350°F while frying. Use a deep-fry thermometer to ensure consistency, preventing the chicken from becoming greasy or undercooked.
- Herb-Infused Oil: Add fresh herbs like rosemary or thyme to the hot oil just before frying. This infuses the chicken with a subtle aromatic flavor, elevating the overall taste.
- Make-Ahead Tip: Prepare and dredge the chicken up to a day in advance. Store it on a wire rack in the refrigerator, uncovered, to allow the coating to dry and adhere better for frying.
Common Mistakes to Avoid
- Using Cold Chicken: Starting with cold chicken straight from the refrigerator can lead to uneven cooking. To avoid this, allow the chicken to sit at room temperature for about 30 minutes before frying. This ensures even cooking and a juicy interior.
- Overcrowding the Pan: Placing too many pieces of chicken in the pan at once lowers the oil temperature, resulting in greasy, unevenly cooked chicken. Fry in batches, leaving space between each piece to maintain the oil at the correct temperature and achieve a crispy crust.
- Skipping the Buttermilk Soak: The buttermilk soak is crucial for tenderizing the chicken and adding flavor. Skipping this step can lead to tougher meat. Marinate the chicken in buttermilk for at least 4 hours, or overnight for the best results.
- Using the Wrong Oil Temperature: Frying at too high or too low a temperature can ruin your chicken. Use a thermometer to keep the oil at a steady 350°F (175°C). This ensures the chicken cooks through without burning the crust.
- Neglecting to Rest the Chicken: Resting the chicken on a wire rack after frying allows excess oil to drain and keeps the crust crispy. Avoid placing freshly fried chicken directly on paper towels, as this can make the bottom soggy.
By being mindful of these common mistakes and following the tips provided, you’ll be well on your way to making delicious, perfectly fried chicken every time. Happy cooking!
Storage and Reheating Tips
- Allow the fried chicken to cool to room temperature before storing. This prevents condensation and sogginess.
- Store the fried chicken in an airtight container or wrap it tightly in aluminum foil. This helps maintain its crispiness and flavor.
- Refrigerate the chicken within two hours of cooking to prevent bacterial growth. For best quality, consume within 3-4 days.
- If you plan to keep the chicken for more than a few days, consider freezing it. Place the chicken pieces in a freezer-safe container or heavy-duty freezer bags. They can be kept in the freezer for up to 3 months.
- To reheat refrigerated chicken, preheat your oven to 375°F (190°C). Place the chicken on a wire rack set over a baking sheet and bake for 15-20 minutes, or until heated through. This method helps preserve the crispiness.
- For frozen chicken, thaw in the refrigerator overnight before reheating using the oven method above.
- Avoid using the microwave for reheating, as it can make the crust soggy. If using a microwave is necessary, use a microwave-safe dish and cover the chicken with a paper towel. Heat on medium power in short intervals to avoid overheating.
- Food Safety Tip: Ensure the internal temperature of the reheated chicken reaches 165°F (74°C) to ensure it’s safe to eat.
Frequently Asked Questions

Frequently Asked Questions
Q: Can I use boneless chicken for this fried chicken recipe?
- Yes, you can use boneless chicken; however, it may cook faster, so adjust the frying time accordingly to avoid overcooking.
Q: What oil is best for frying chicken?
- Neutral oils like vegetable, canola, or peanut oil are ideal as they have high smoke points and won’t add unwanted flavors.
Q: How can I ensure my fried chicken stays crispy?
- Drain on a wire rack instead of paper towels to prevent steam from making the crust soggy.
Q: What can I do if my chicken is not cooked through but the crust is already golden brown?
- Finish in the oven at 350°F (175°C) until the internal temperature reaches 165°F (74°C) to ensure it is fully cooked.
Q: Can I make fried chicken gluten-free?
- Absolutely, use gluten-free flour or a blend of cornstarch and rice flour as a coating alternative.
Final Thoughts
This fried chicken recipe stands out with its perfect blend of crispy coating and juicy meat, making it a delightful treat for any occasion. The combination of spices and buttermilk marinade gives it a unique flavor that is both comforting and satisfying. Whether you’re a seasoned cook or a beginner, this recipe is designed to deliver delicious results every time.
Don’t be afraid to make this recipe your own! Feel free to experiment with different seasonings or try it with your favorite dipping sauces. Cooking should be a fun and creative process, and this fried chicken is a great canvas for your culinary imagination. Remember, the best recipes are the ones you personalize.
We warmly invite you to give this fried chicken recipe a try. It’s a fantastic opportunity to bring a touch of comfort and joy to your dining table. Happy cooking!

Hi, I’m Katie Dawson, a paediatric speech-language pathologist by day and a passionate food storyteller by night. Based in Seattle but with a love for global flavours (and a soft spot for Indian chai), I created this blog to bridge the gap between therapeutic nutrition and the simple joy of eating.
