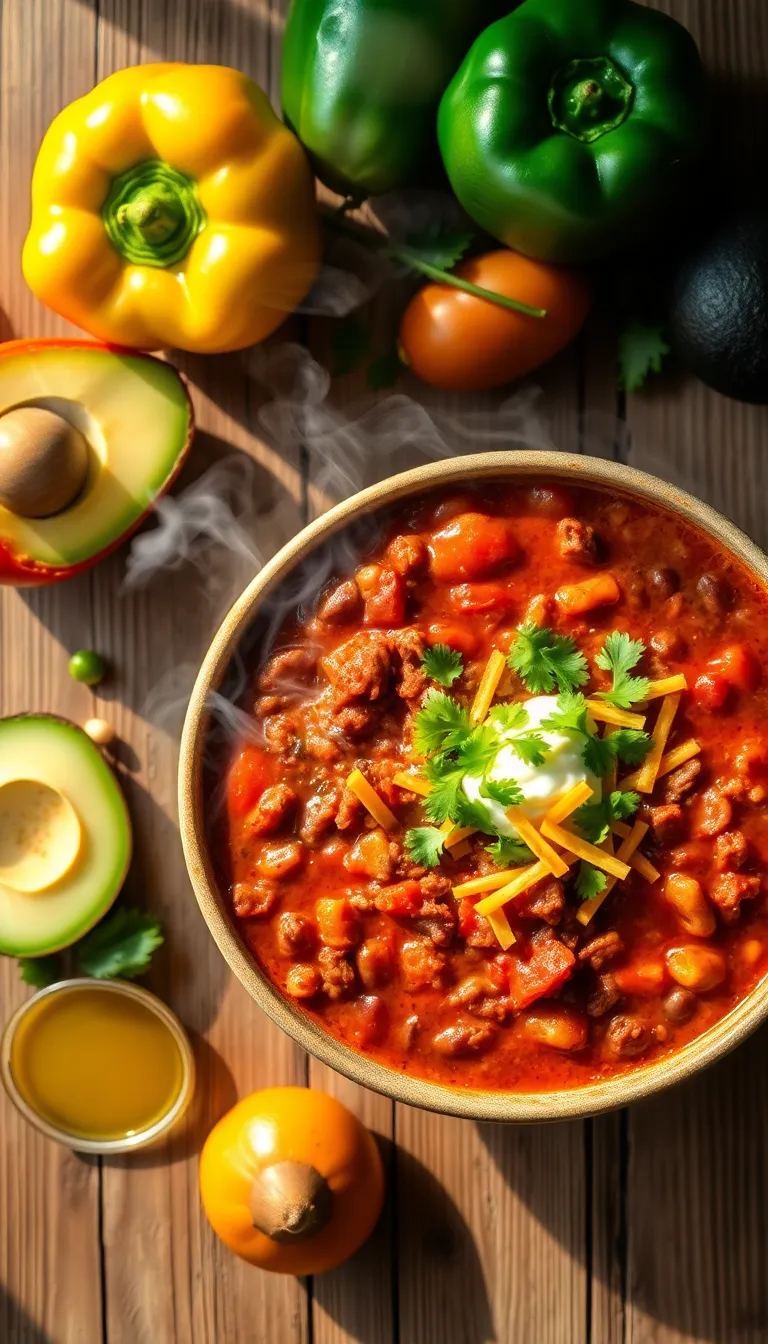
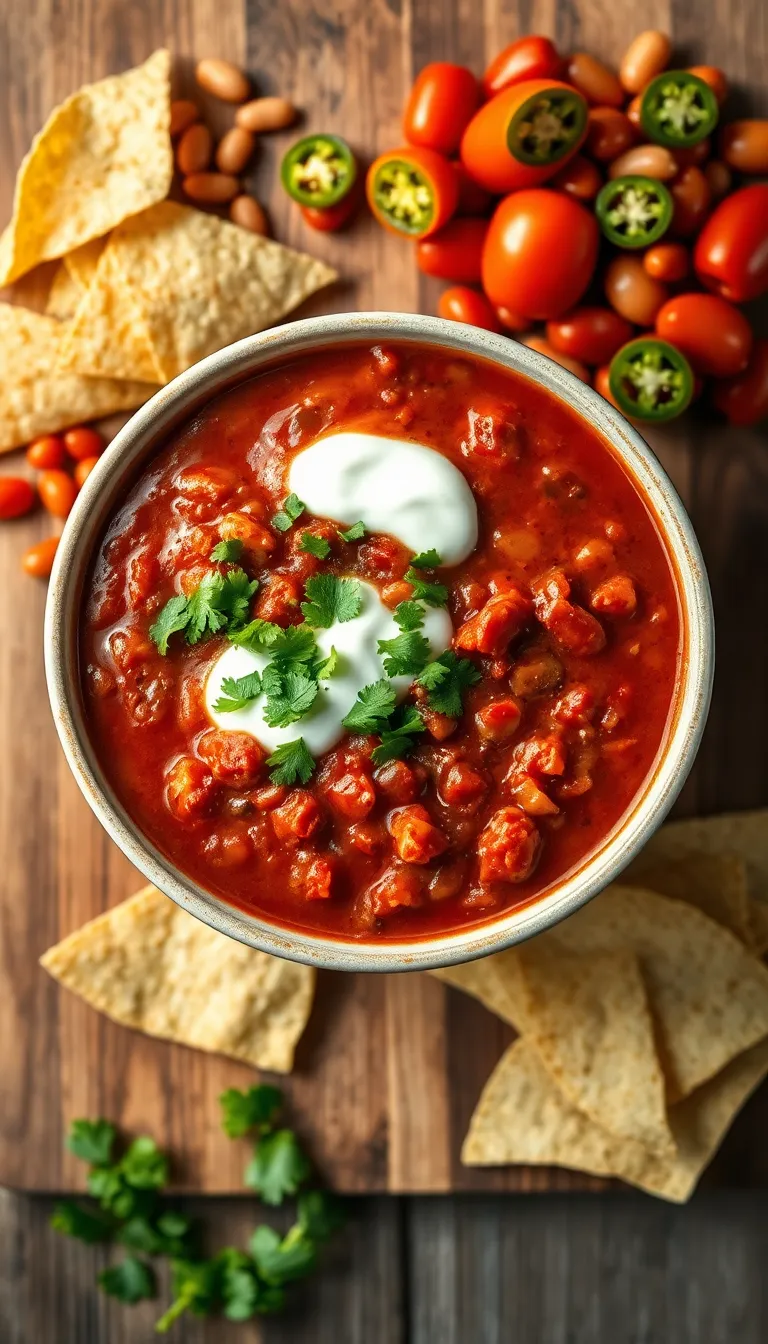
Get ready to dive into a bowl of comfort with our irresistible chili recipe, perfect for both kitchen novices and seasoned chefs. This chili is a celebration of bold, hearty flavors, featuring a harmonious blend of tender beef, robust tomatoes, and a medley of spices that dance on your palate, creating a warming sensation with every bite.
Imagine the aroma of simmering garlic mingling with the earthy scent of cumin and smoky paprika, inviting you to savor each spoonful. Whether you’re looking to master your first pot of chili or refine your signature dish, this recipe promises a satisfying culinary adventure that will have everyone asking for seconds.
About This chili Recipe
- Hearty and Satisfying: This chili recipe is packed with rich, robust flavors that create a comforting and filling meal perfect for any occasion.
- Quick and Easy: With minimal prep time and simple ingredients, you can have a delicious homemade chili on your table in under an hour.
- Customizable Spice Level: Adjust the heat to your preference with easy-to-find spices, making it suitable for everyone from spice lovers to mild flavor fans.
- Nutritious and Balanced: Loaded with protein-rich beans and lean ground beef, this chili provides a balanced meal that’s both nutritious and satisfying.
- Perfect for Meal Prep: Make a big batch and enjoy it throughout the week, as this chili tastes even better the next day and freezes beautifully.
- Family-Friendly: A crowd-pleaser that kids and adults alike will love, making it a go-to recipe for gatherings and weeknight dinners.
Why You’ll Love This Recipe

- Rich and Hearty Flavor: This chili recipe offers a robust blend of spices and ingredients that create a deep, satisfying taste with every bite.
- Quick and Easy Preparation: With only a few simple steps, you can have a delicious pot of chili ready in under an hour, perfect for busy weeknights.
- Customizable Ingredients: Whether you prefer it spicy or mild, you can easily adjust the heat level and ingredients to suit your taste preferences.
- Nutritious and Filling: Packed with protein-rich beans and lean ground meat, this chili is not only delicious but also a wholesome meal option.
- Perfect for Meal Prep: This chili stores well and tastes even better the next day, making it an ideal dish for meal prepping or feeding a crowd.
- Versatile Serving Options: Enjoy it on its own, or serve it over rice, pasta, or with your favorite toppings like cheese and sour cream for a complete meal.
Ingredients
- 2 tablespoons olive oil
- 1 large onion, diced
- 2 cloves garlic, minced
- 1 pound ground beef (or substitute with ground turkey for a leaner option)
- 1 large bell pepper, diced (any color)
- 2 tablespoons chili powder
- 1 teaspoon ground cumin
- 1 teaspoon smoked paprika
- 1/2 teaspoon cayenne pepper (adjust for heat preference)
- 1 teaspoon salt
- 1/2 teaspoon black pepper
- 1 can (15 oz) diced tomatoes, undrained
- 1 can (15 oz) kidney beans, drained and rinsed
- 1 can (15 oz) black beans, drained and rinsed
- 1 can (6 oz) tomato paste
- 2 cups beef broth (or substitute with vegetable broth for a vegetarian version)
- 1 tablespoon Worcestershire sauce (optional, adds depth of flavor)
- 1 tablespoon brown sugar (optional, to balance acidity)
- 1 cup corn kernels (fresh or frozen)
- 1 tablespoon apple cider vinegar (adds brightness)
- 1/4 cup fresh cilantro, chopped (optional, for garnish)
- 1/2 cup shredded cheddar cheese (optional, for serving)
- 1/4 cup sour cream (optional, for serving)
- 1 lime, cut into wedges (optional, for serving)
Kitchen Tools You’ll Need
- Large Pot or Dutch Oven: Essential for simmering the chili. The large size allows for even cooking and prevents overflow.
- Wooden Spoon or Spatula: Ideal for stirring the chili to ensure all ingredients are well-mixed and prevent sticking to the pot.
- Chef’s Knife: Used for chopping vegetables and dicing meat, ensuring uniform pieces for even cooking.
- Cutting Board: Provides a stable surface for safely preparing ingredients. Opt for a board with a juice groove if cutting juicy vegetables.
- Measuring Cups and Spoons: Necessary for accurately measuring spices and liquids to ensure the chili is well-seasoned.
- Can Opener: Useful for opening canned ingredients like tomatoes or beans, which are commonly used in chili recipes.
- Colander: Helpful for draining beans if using canned, rinsing away excess sodium before adding them to the pot.
- Tasting Spoons: Important for sampling the chili to adjust seasoning as needed during cooking.
Preparation Steps
- Heat a large pot over medium-high heat and add 2 tablespoons of olive oil. Once the oil is shimmering, add 1 chopped onion and 2 minced garlic cloves. Sauté until the onion becomes translucent, about 3-4 minutes.
- Add 1 pound of ground beef to the pot. Use a wooden spoon to break it apart, cooking until it’s browned and no pink remains, approximately 5-7 minutes. Drain excess fat if necessary to avoid a greasy chili.
- Stir in 2 tablespoons of chili powder, 1 teaspoon of cumin, and 1 teaspoon of paprika. Cook for 1 minute until the spices are fragrant, ensuring they do not burn.
- Add 1 can (28 ounces) of diced tomatoes, 1 can (15 ounces) of kidney beans, and 1 can (15 ounces) of black beans, both drained and rinsed. Bring the mixture to a simmer.
- Reduce the heat to low and cover the pot. Allow the chili to simmer for 30 minutes, stirring occasionally. The chili is ready when it has thickened and the flavors have melded together.
- Season with salt and pepper to taste, then serve hot with your choice of toppings such as shredded cheese, sour cream, or chopped cilantro.
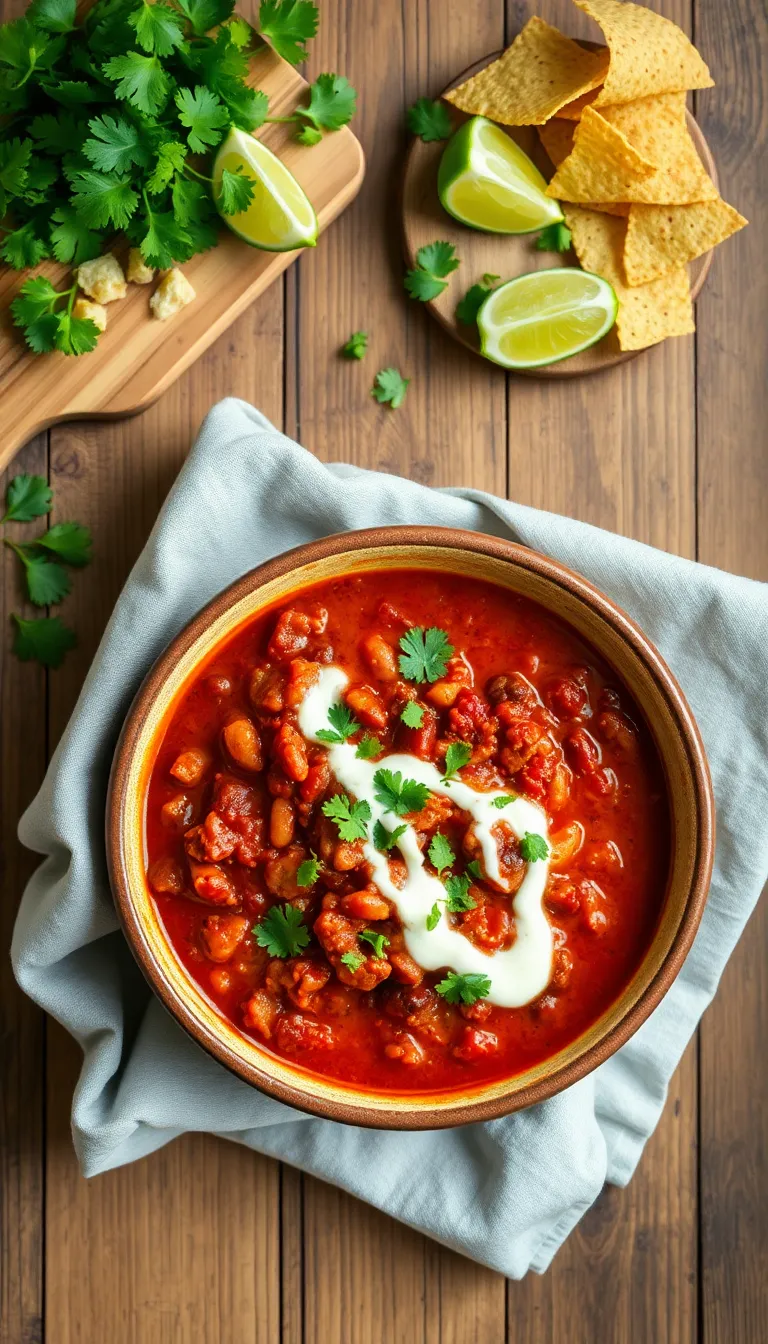
Serving Suggestions
- Serve with Cornbread: The sweetness and crumbly texture of cornbread provide a delightful contrast to the spicy, hearty chili, making it an excellent accompaniment for a cozy meal.
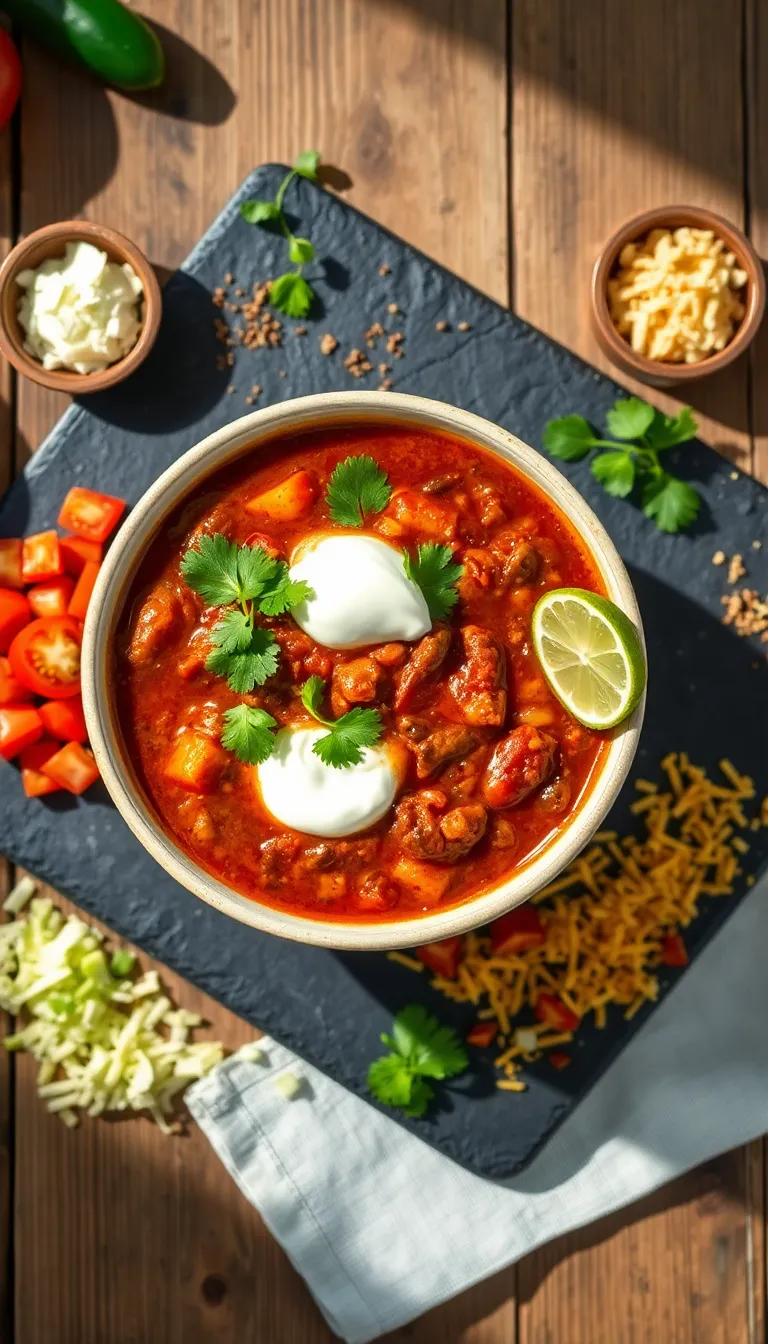
- Top with Sour Cream and Cheese: Adding a dollop of sour cream and a sprinkle of shredded cheddar cheese can enhance the chili’s creamy texture and add a rich, tangy flavor that complements the spices.
- Pair with a Green Salad: A crisp green salad with a light vinaigrette offers a refreshing and healthy balance to the rich and robust flavors of the chili.
- Garnish with Fresh Cilantro and Lime: A sprinkle of chopped cilantro and a squeeze of fresh lime juice can brighten the dish, adding a fresh and zesty note to each bite.
- Enjoy with a Cold Beer: A chilled beer, such as a lager or pale ale, complements the chili’s heat and spices, making it a popular choice for casual gatherings or game day.
- Serve Over Rice or Quinoa: For a heartier meal, serve the chili over rice or quinoa, which can absorb the flavors and add a satisfying texture to the dish.
Pro Tips for Perfect Results
- Toast Your Spices: For a deeper flavor, toast your spices in a dry pan for a minute or two before adding them to the chili. This process releases essential oils, intensifying the spices’ flavors.
- Layer Your Ingredients: Add ingredients in stages to build depth of flavor. Start with browning the meat, then add onions and garlic, followed by spices, and finally the tomatoes and beans.
- Balance the Acidity: If your chili tastes too acidic, add a small amount of sugar or a splash of balsamic vinegar to balance the flavors without overpowering the dish.
- Simmer for Success: Allow your chili to simmer on low heat for at least an hour. This slow cooking process melds the flavors together and tenderizes the meat, resulting in a richer dish.
- Make Ahead for Better Flavor: Chili tastes even better the next day. Prepare it a day in advance if possible, and let it rest in the refrigerator overnight to allow the flavors to fully develop.
- Chef’s Secret – Add Umami: For an extra boost of umami, stir in a tablespoon of soy sauce or a few dashes of fish sauce. These ingredients add depth without making the chili taste fishy or salty.
Common Mistakes to Avoid
- Skipping the browning step: Many people skip browning the meat because they are in a hurry. However, browning adds a depth of flavor and improves the texture of your chili. To avoid this mistake, take the time to brown your meat in a hot pan before adding it to the chili. This will enhance the overall taste and quality of your dish.
- Using canned beans without rinsing: Canned beans are convenient, but they come packed in a salty and starchy liquid. If you don’t rinse them, this liquid can affect the flavor and consistency of your chili. To avoid this, always drain and rinse canned beans under cold water before adding them to your pot.
- Cooking on high heat the entire time: Cooking chili on high heat can lead to uneven cooking and a burnt bottom. Instead, after bringing your chili to a boil, reduce the heat to low and let it simmer. This allows the flavors to meld together and results in a richer and more balanced dish.
- Adding all spices at once: Dumping in all your spices at the beginning can lead to a one-dimensional flavor profile. Instead, layer your spices by adding some with the aromatics and adjusting seasoning towards the end of cooking. This approach keeps your chili tasting fresh and well-rounded.
- Neglecting to taste and adjust seasoning: It’s easy to assume the initial seasoning is enough, but flavors can change during cooking. To avoid under or over-seasoning, taste your chili periodically and adjust the salt and spices as necessary. This ensures a perfectly seasoned dish that satisfies every time.
- Overloading with ingredients: While it’s tempting to add every available ingredient, this can lead to a muddled flavor. Focus on quality over quantity by choosing a few key ingredients that complement each other. This will result in a more harmonious and flavorful chili.
Storage and Reheating Tips

- Allow the chili to cool at room temperature for up to 1 hour before storing. Do not leave it out longer to prevent bacterial growth.
- Transfer the cooled chili to an airtight container. Glass or BPA-free plastic containers work best for maintaining flavor and preventing odors from transferring.
- Refrigerate the chili within 2 hours of cooking. It can be safely stored in the refrigerator for up to 3 to 4 days.
- For longer storage, consider freezing the chili. Portion it into airtight freezer-safe bags or containers, leaving some space for expansion. Label with the date for easy tracking.
- Frozen chili can last up to 3 months. For best results, thaw it in the refrigerator overnight before reheating.
- To reheat refrigerated chili:
- On the stove: Pour the chili into a saucepan over medium heat. Stir occasionally until heated through, about 10-15 minutes.
- In the microwave: Use a microwave-safe container. Heat on high in 1-minute intervals, stirring in between, until hot.
- For reheating frozen chili:
- On the stove: Thaw overnight in the refrigerator, then follow stovetop reheating instructions.
- In the microwave: Use the defrost setting, then heat at regular intervals as you would for refrigerated chili.
- Ensure the chili reaches an internal temperature of 165°F (74°C) before serving to ensure food safety.
Frequently Asked Questions
Q: Can I make this chili vegetarian or vegan?
- Yes, you can substitute the meat with a variety of beans or a plant-based protein like tofu or tempeh for a vegetarian or vegan version.
Q: What can I use if I don’t have chili powder?
- You can create a substitute by mixing equal parts of paprika, cumin, and cayenne pepper for a similar flavor profile.
Q: How can I thicken my chili if it’s too watery?
- To thicken your chili, you can simmer it uncovered to reduce the liquid or add a slurry of cornstarch and water.
Q: Can I use canned tomatoes instead of fresh tomatoes?
- Absolutely. Canned tomatoes work well and can even enhance the flavor, as they are usually picked and canned at peak ripeness.
Q: How do I adjust the spiciness of my chili?
- To reduce spiciness, add a dairy product like sour cream or cheese; to increase it, consider adding more chili peppers or cayenne pepper.
Q: Can I freeze leftovers, and if so, how long will they last?
- Yes, you can freeze chili for up to 3 months. Make sure it is stored in an airtight container to maintain flavor and quality.
Final Thoughts
This chili recipe is a comforting classic that’s both hearty and full of flavor. With its rich blend of spices and hearty ingredients, it’s a dish that warms the soul and satisfies the appetite. What makes this recipe special is the way it brings together simple ingredients to create a robust, delicious meal that’s perfect for any occasion.
Feel free to make this recipe your own by adding your favorite toppings or adjusting the spices to your taste. Whether you prefer a little extra heat or a milder flavor, this chili is versatile and forgiving. Experiment and enjoy the process of creating a dish that’s uniquely yours.
We hope you’re inspired to try this recipe and experience the joy of making a home-cooked meal. Gather your ingredients, fire up the stove, and savor the delightful aromas that fill your kitchen. Happy cooking!

Hi, I’m Katie Dawson, the owner, cook, and storyteller behind Little More Lovely. I run a small café in a cozy corner of Seattle, where the smell of freshly baked bread meets the hum of neighborhood chatter. I’ve spent years learning how food can bring people together, both as a professional and as someone who loves to share meals with family and friends.

