Making a blackberry crisp means dealing with the mess of berries bursting and staining the countertop as you scoop them into the baking dish. The topping crumbles unevenly, some clumps sticking stubbornly to the spoon, while others fall apart in your fingers. It’s a tactile process, no perfect lines, just instinct and a handful of oats and butter crumbling between your fingers.
Baking the crisp fills the kitchen with a smoky, toasty aroma that seeps into your clothes and makes your stomach rumble. You hear the faint sizzle of fruit juices bubbling up around the edges of the topping, a reminder that this is a dish of textures—crisp, juicy, sometimes a little oozy around the edges.
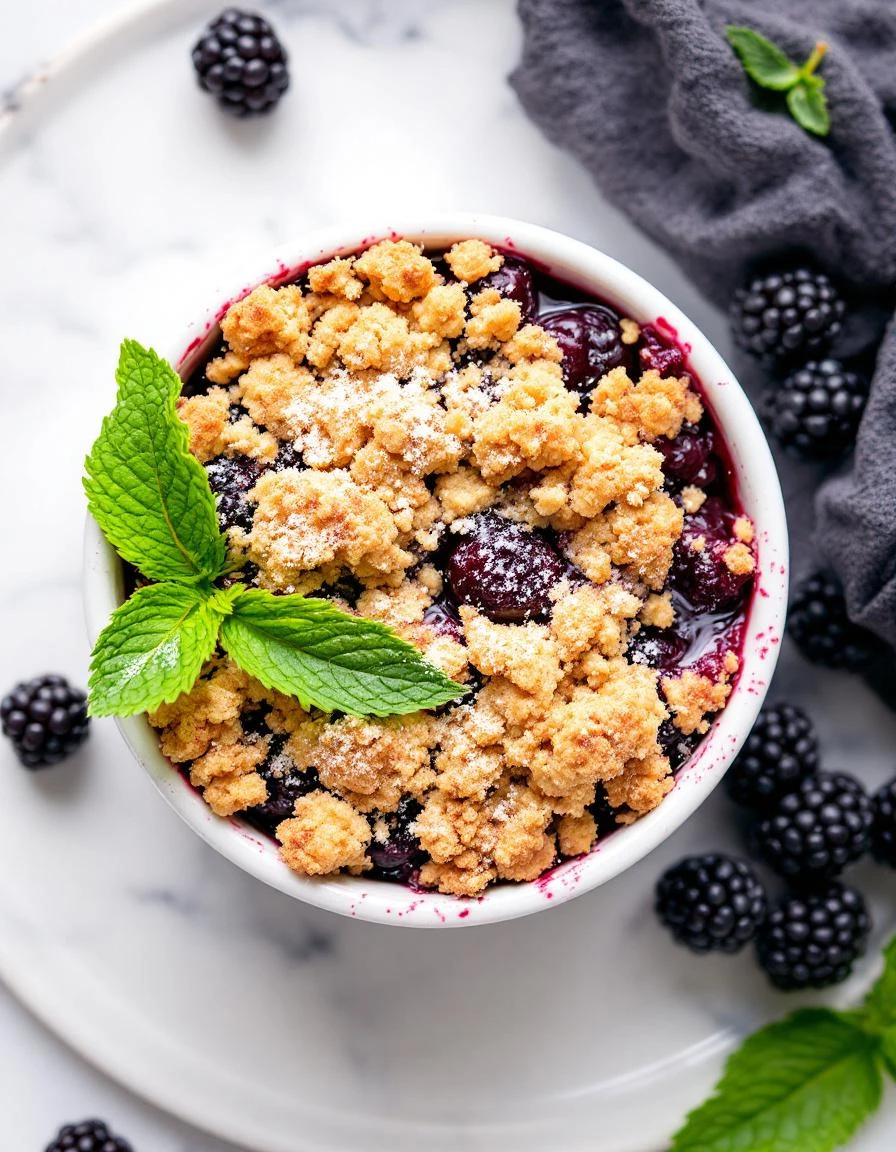
The satisfying crack of the topping breaking under the spoon, revealing the warm, bubbling fruit juices beneath.
Key Ingredients and Substitutes
- Blackberries: I like ripe, deep purple berries—they break down easily and release a juicy, tart burst. If yours are a bit firm, toss them with a little sugar first, or skip if you prefer their natural tartness.
- Granulated sugar: Sweetens and helps thicken the berry juices. If you’re avoiding refined sugar, honey or maple syrup can work—just reduce the liquid slightly to keep the juices from becoming too runny.
- Lemon juice: Brightens the berries with a zing that cuts through the sweetness. Skip if you’re out, but a splash of vinegar can add a similar tang, or just leave it out for a mellower flavor.
- Oats: Old-fashioned oats give the topping a hearty crunch. For a gluten-free version, swap in coconut flakes or chopped nuts, but keep an eye on baking time—these might toast faster.
- Flour: All-purpose flour binds the topping. If you’re gluten-free, almond or oat flour works well, just expect a slightly denser, nuttier topping that still crumbles nicely.
- Butter: Cold, cubed butter creates that flaky, crumbly topping. If dairy-free, coconut oil or vegan butter can mimic the texture, but watch for slight flavor differences and adjust the baking time.
- Brown sugar: Adds a caramel note and extra crunch. You can swap with coconut sugar for a more nuanced sweetness, or skip entirely if you want a less sweet, more tart crisp.
Blackberry Crisp
Ingredients
Equipment
Method
- Preheat your oven to 375°F (190°C). Grease a baking dish with a little butter to prevent sticking.
- In a large mixing bowl, gently toss the blackberries with granulated sugar and lemon juice until evenly coated. Transfer the mixture to your prepared baking dish, spreading it out evenly.
- In a separate bowl, combine oats, flour, and brown sugar. Mix together with a spatula or your fingers until well combined and crumbly.
- Add the cold, cubed butter to the dry mixture. Use your fingers or a pastry cutter to work the butter into the oats and flour until the mixture resembles coarse crumbs with some larger clumps.
- Spread the crumble evenly over the berry filling, pressing down gently to create an even layer.
- Bake in the preheated oven for about 35 minutes, or until the topping is golden brown and the berry juices are bubbling around the edges with a faint sizzle.
- Remove the blackberry crisp from the oven and let it cool slightly for 5-10 minutes. The topping will be crisp, and the filling will be bubbling and juicy.
- Serve warm, optionally with a scoop of vanilla ice cream or a dollop of whipped cream for extra indulgence.
Common Mistakes and How to Fix Them
- FORGOT to butter the baking dish? Grease it well to prevent sticking and tearing.
- DUMPED too many berries at once? Add them gradually to avoid overflow and uneven cooking.
- OVER-TORCHED the topping? Keep an eye on it in the oven, cover loosely if it browns too fast.
- MISSED the sugar sprinkle before baking? Lightly sprinkle on top for added crunch and sweetness.
Make-Ahead and Storage Tips
- Prepare the berry filling a day ahead; keep refrigerated for up to 24 hours to maintain freshness and prevent over-softening.
- Assemble the topping a few hours before baking; store in an airtight container at room temperature or in the fridge if ambient temperature is hot.
- Freeze assembled crisps for up to 2 months; bake directly from frozen, adding 10-15 minutes to the baking time.
- Reheat leftovers in a low oven (around 300°F) until bubbly and crisp again, checking texture and aroma as cues for doneness.
- Flavor intensifies and melds after a day, so the crisp tastes richer if eaten the next day; serve slightly warm for best texture.
FAQs
1. How should ripe blackberries look and smell?
Blackberries are juicy and a little tart, with a deep purple color and a fragrant, berry aroma. When ripe, they burst with a soft, oozy texture that coats your fingers as you fold them into the sugar and lemon juice.
2. Why is my crisp soggy and how do I fix it?
A too-soggy crisp comes from overripe berries or excess liquid. To fix, sprinkle some extra oats or flour on top before baking, or bake a few extra minutes until the topping turns golden.
3. How do I prevent the topping from burning?
If the topping is browning too quickly, tent it loosely with foil. Check for doneness by listening for that satisfying crack when you scoop a bite and ensuring the topping is golden and crisp.
4. Can I prepare this in advance?
Make the filling a day ahead and refrigerate it. The berries will release their juices slowly, intensifying the flavor. Just assemble the topping fresh before baking to keep it crunchy.
5. How do I reheat leftover crisp?
Reheat leftovers in a low oven until the edges are bubbling and the top regains some crunch. The aroma of baked berries and toasted oats will tell you it’s good to go, about 10-15 minutes at 300°F.

Hi, I’m Katie Dawson, the owner, cook, and storyteller behind Little More Lovely. I run a small café in a cozy corner of Seattle, where the smell of freshly baked bread meets the hum of neighborhood chatter. I’ve spent years learning how food can bring people together, both as a professional and as someone who loves to share meals with family and friends.

