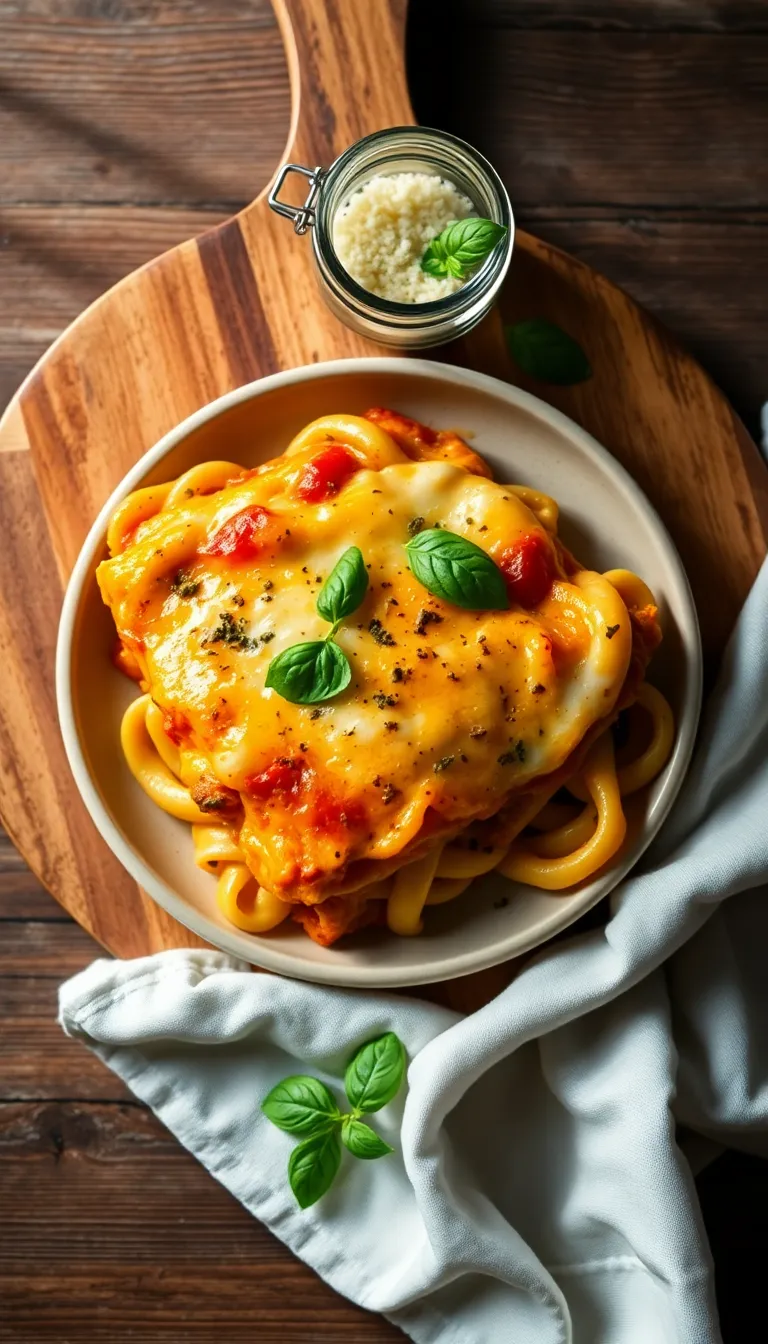
Imagine the comforting aroma of bubbling marinara sauce mingling with melted cheese wafting through your kitchen as you prepare this irresistible Baked Ziti. Whether you’re a beginner eager to dive into the world of Italian cooking or an experienced chef looking to perfect a classic, this recipe promises a deliciously satisfying meal that’s as rewarding to make as it is to eat.
What sets this Baked Ziti apart is its harmonious blend of creamy ricotta, robust garlic, and savory Italian sausage, infusing every bite with layers of flavor. With an easy-to-follow approach that guarantees success, you’ll feel confident crafting this warm, cheesy delight that brings everyone to the table with a smile.
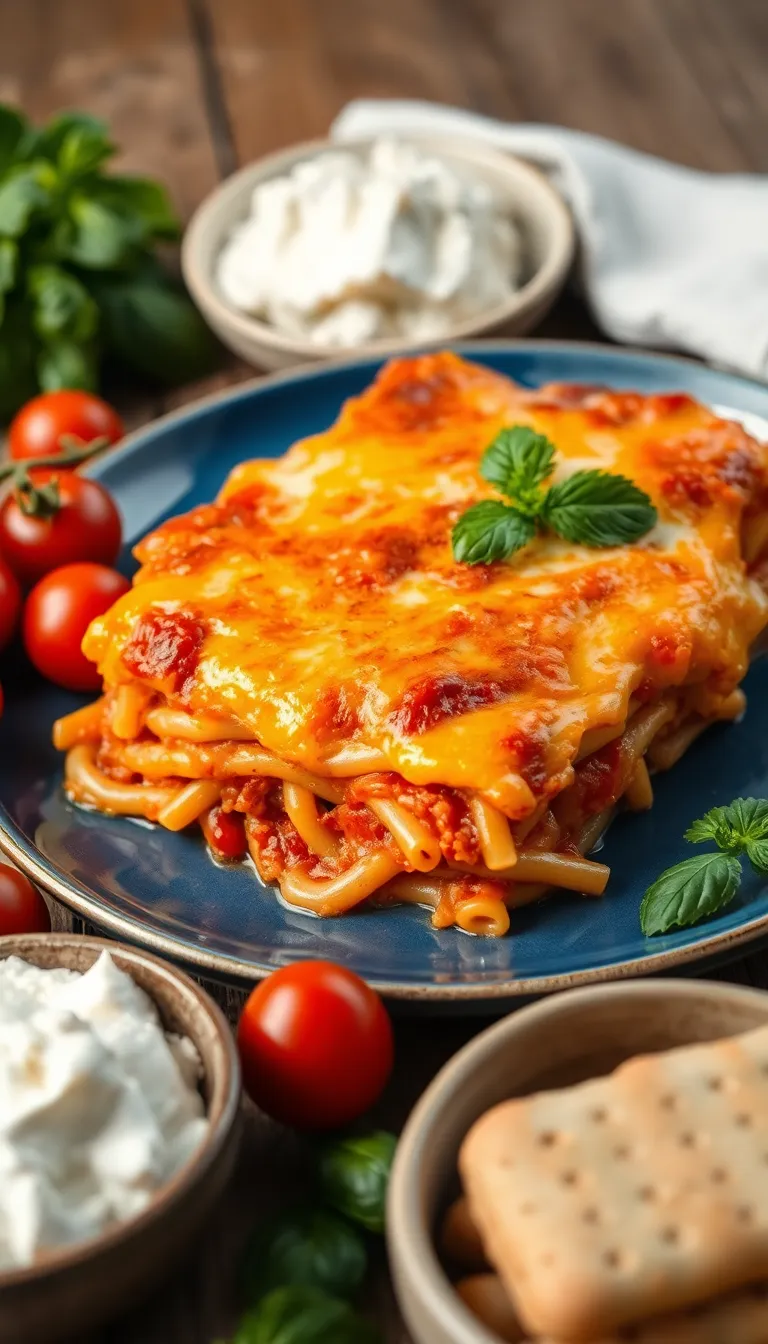
About This baked ziti Recipe
- Rich and Flavorful: This Baked Ziti recipe is loaded with a blend of savory Italian cheeses and a hearty meat sauce, offering an authentic taste that’s both comforting and satisfying.
- Simple and Quick Preparation: With easy-to-follow steps, this dish comes together in less than an hour, making it perfect for busy weeknights or last-minute meals.
- Perfect for Any Occasion: Whether it’s a casual family dinner or a festive gathering, this Baked Ziti is a crowd-pleaser that’s sure to impress everyone at the table.
- Great for Meal Prep: Make it ahead and store in the fridge or freezer for a convenient, ready-to-go meal that tastes just as delicious when reheated.
- Versatile and Customizable: Easily adapt the ingredients to suit your dietary preferences or to use up what’s in your pantry, making it a flexible recipe for any home cook.
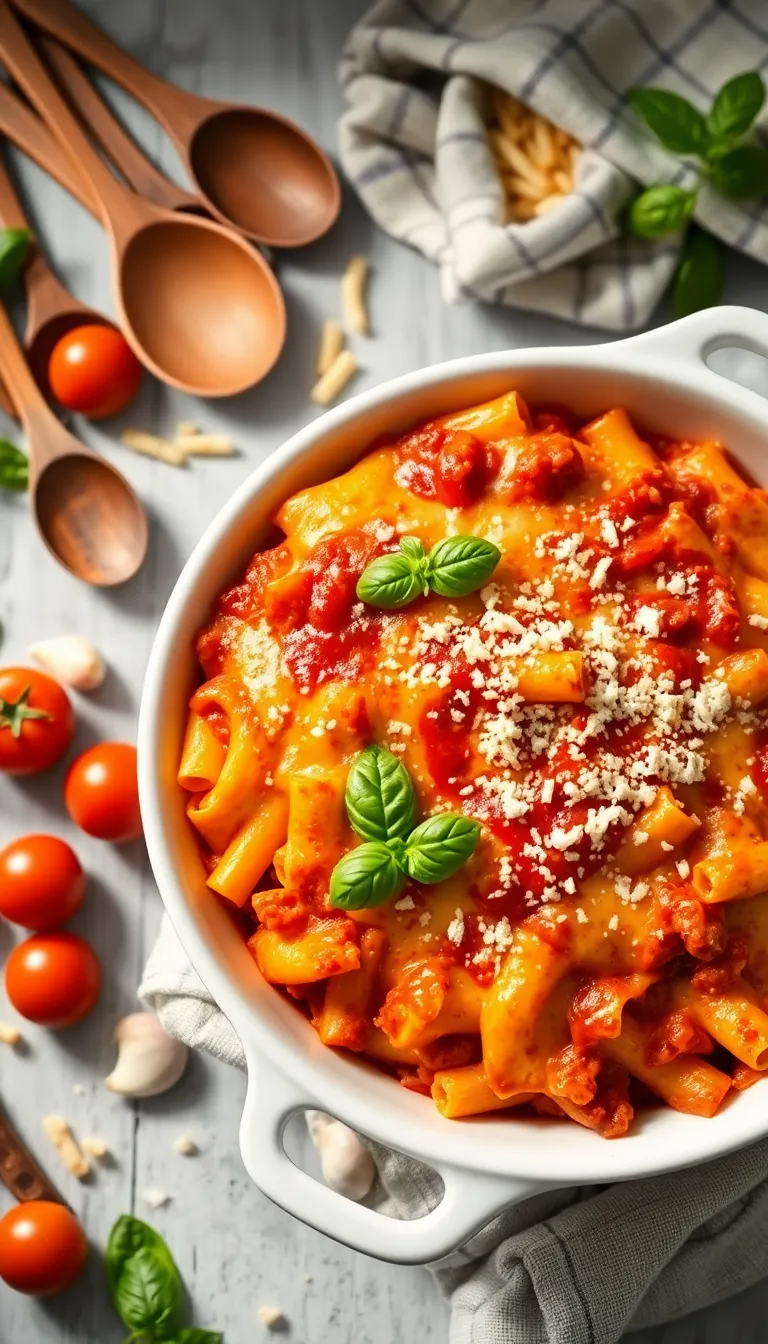
Why You’ll Love This Recipe

- Rich, Comforting Flavors: This baked ziti is packed with a blend of savory Italian spices, creamy ricotta, and melted mozzarella for a dish that feels like a warm hug.
- Simple to Prepare: With easy-to-follow steps and minimal prep time, this recipe is perfect for both weeknight dinners and special occasions.
- Customizable Ingredients: Adapt it to your taste by adding vegetables, swapping in your favorite meats, or making it vegetarian, offering flexibility for any dietary preference.
- Perfect for Meal Prep: Make it ahead of time and enjoy delicious leftovers that taste even better the next day, saving you time during busy weeks.
- Crowd-Pleasing Dish: Its hearty, cheesy goodness makes it a guaranteed hit at family gatherings or potlucks, leaving everyone asking for seconds.
Ingredients
- 1 pound ziti pasta
- 2 tablespoons olive oil
- 1 medium onion, chopped
- 3 cloves garlic, minced
- 1 pound ground beef or Italian sausage
(Substitute with ground turkey or plant-based meat for a lighter option)
- 1 teaspoon dried oregano
- 1 teaspoon dried basil
- 1/2 teaspoon red pepper flakes
(Adjust to taste for desired heat level)
- 1 jar (24 ounces) marinara sauce
(Use homemade sauce for a fresher flavor)
- 1 cup ricotta cheese
- 1 cup mozzarella cheese, shredded
- 1/2 cup Parmesan cheese, grated
- 1/4 cup fresh parsley, chopped
(Reserve some for garnish)
- Salt and pepper to taste
- 1/2 cup sliced black olives (optional)
- 1/2 cup roasted red peppers, chopped (optional)
Kitchen Tools You’ll Need
- Large Pot: Essential for boiling the ziti pasta until al dente. If you don’t have a large pot, two smaller pots can be used.
- Colander: Used to drain the cooked pasta. A large sieve can work as an alternative.
- Large Skillet: Necessary for browning the meat and cooking the sauce. A large saucepan could be used instead if a skillet is unavailable.
- Baking Dish: A 9×13-inch baking dish is ideal for assembling and baking the ziti. If you need an alternative, use any oven-safe dish with similar dimensions.
- Wooden Spoon or Spatula: Useful for stirring the sauce and combining ingredients smoothly. A silicone spatula is a good substitute.
- Measuring Cups and Spoons: Important for accurately measuring ingredients like pasta, cheese, and seasonings.
- Aluminum Foil: Used to cover the baking dish while baking to prevent the cheese from over-browning. Parchment paper can be used as a substitute.
Preparation Steps
- Preheat the oven to 375°F (190°C) to ensure it’s hot enough for baking.
- Boil a large pot of salted water and cook ziti pasta until it’s al dente, about 8-10 minutes. Drain well and set aside.
- In a large skillet over medium heat, cook ground beef until browned, about 5-7 minutes. Drain excess fat and add marinara sauce, stirring to combine.
- In a large mixing bowl, combine ricotta cheese, 1 cup of mozzarella, and Parmesan cheese. Mix well until the mixture is smooth and creamy.
- Spread a thin layer of meat sauce on the bottom of a baking dish. Layer half of the cooked ziti over the sauce, followed by half of the cheese mixture.
- Repeat with remaining ziti, meat sauce, and cheese mixture. Top with remaining mozzarella cheese for a golden, bubbly finish.
- Bake in preheated oven for 25-30 minutes, or until the cheese is golden brown and the sauce is bubbling around the edges. Let it rest for 5 minutes before serving.
Serving Suggestions
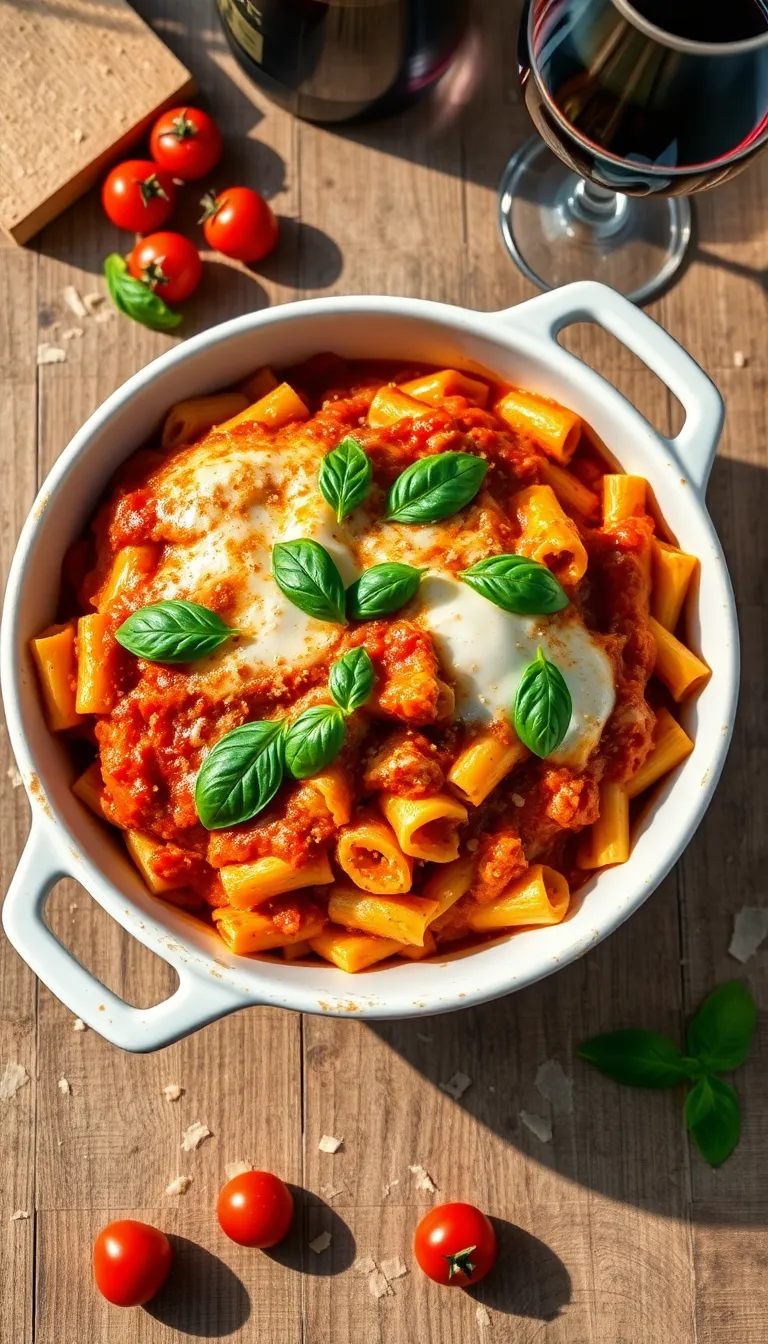
- Sprinkle Fresh Basil: Garnish each serving with fresh basil leaves for an aromatic touch and a pop of color. The herb’s sweet and peppery notes complement the ziti’s rich tomato sauce beautifully.
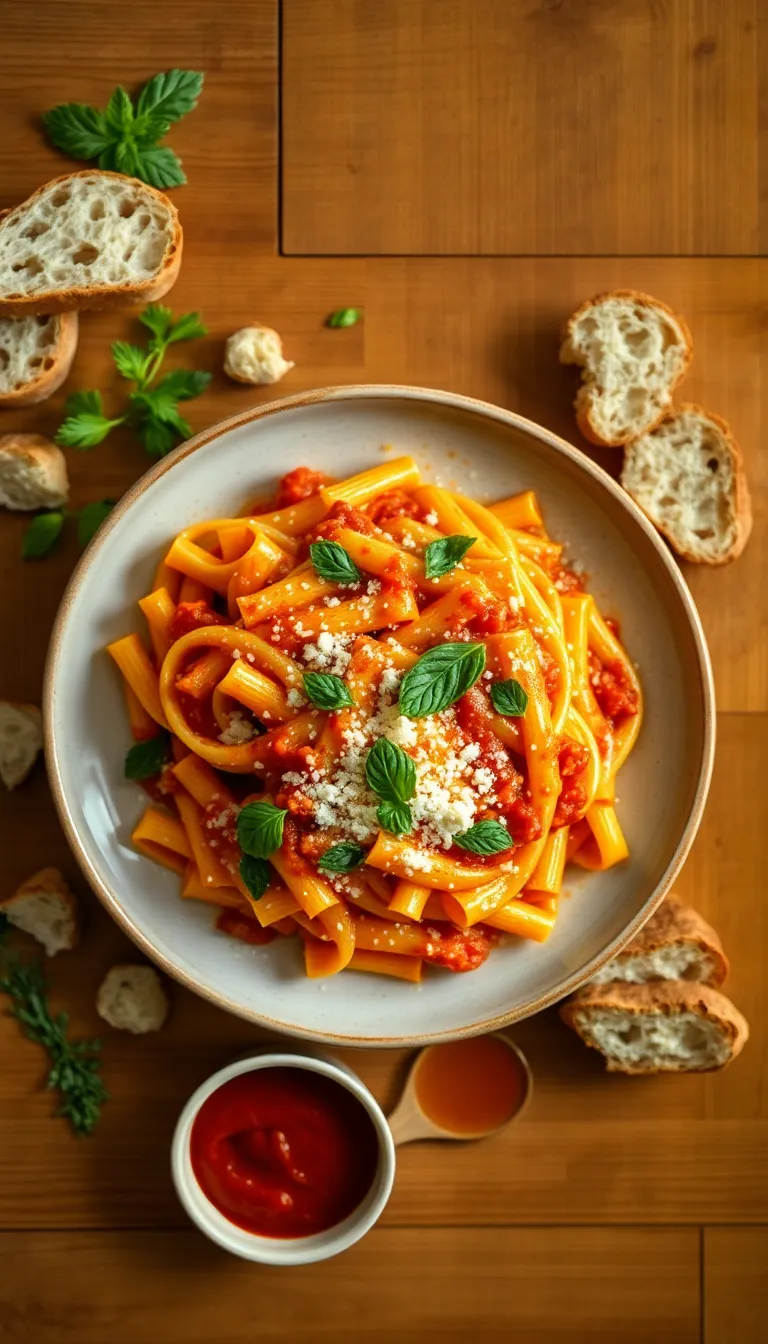
- Serve with Garlic Bread: Pair the baked ziti with a side of warm garlic bread. The crunchy texture and buttery garlic flavors provide a satisfying contrast to the creamy pasta dish.
- Accompany with a Caesar Salad: A crisp Caesar salad with romaine lettuce, croutons, and parmesan cheese offers a refreshing, tangy balance to the hearty baked ziti. It’s an ideal mix for a complete meal.
- Wine Pairing: Enjoy with a glass of Chianti or a medium-bodied red wine. The wine’s acidity and fruitiness enhance the savory elements of the dish, making it a perfect choice for dinner parties.
- Top with Red Pepper Flakes: For those who enjoy a bit of heat, add a sprinkle of red pepper flakes. This simple addition elevates the dish with an extra layer of flavor and a touch of spice.
- Family-Style Serving: Present the baked ziti family-style in a large casserole dish. This approach encourages sharing and creates a warm, communal atmosphere, ideal for gatherings or casual dinners.
Pro Tips for Perfect Results
- Use Fresh Mozzarella: For the best texture and flavor, opt for fresh mozzarella instead of pre-shredded varieties. Tear it into small pieces so that it melts evenly and creates a creamy, gooey layer.
- Layer with Care: When assembling the ziti, ensure that each layer of pasta is evenly coated with sauce. This prevents the dish from drying out and ensures every bite is flavorful.
- Enhance with Herbs: Add a touch of fresh basil or oregano to the sauce. This will elevate the dish’s aroma and add a layer of freshness that dried herbs can’t quite match.
- Make-Ahead Convenience: Prepare the dish up to the baking step a day in advance. Cover tightly with foil and refrigerate. This allows the flavors to meld beautifully, and you can bake it just before serving.
- Perfect the Pasta: Cook the ziti to al dente according to package instructions. This is crucial as the pasta will continue to cook in the oven and absorb some of the sauce, preventing it from becoming mushy.
- Chef’s Secret for Extra Creaminess: Stir a dollop of ricotta cheese into the sauce before layering. This adds a luscious creaminess that will make your baked ziti stand out.
Final Thoughts: Mastering these tips can transform a simple baked ziti into a memorable dish that’s bursting with flavor and texture. Whether you’re making it for a family dinner or a special occasion, these expert techniques will ensure your baked ziti is always a hit.
Common Mistakes to Avoid
Common Mistakes to Avoid
- Overcooking the Pasta: This is a common mistake that results in mushy baked ziti. Always cook the pasta just until it’s al dente, as it will continue to cook in the oven. To avoid overcooking, closely follow the package instructions for al dente pasta and drain it promptly.
- Skipping the Sauce Layering: Sauce layering is crucial to prevent the pasta from drying out. Ensure you coat the bottom of the baking dish with sauce, and also layer it in between and on top of the ziti. This keeps the dish moist and flavorful.
- Using Low-Quality Cheese: Cheese plays a vital role in baked ziti. Opting for pre-shredded cheese can lead to a less creamy texture due to added anti-caking agents. Use freshly grated cheese for a smoother, more delicious finish.
- Not Preheating the Oven: Starting with a cold oven can result in uneven cooking. Always preheat your oven to the specified temperature before putting the ziti in. This ensures that the dish bakes evenly and the cheese melts perfectly.
- Forgetting to Let It Rest: Cutting into baked ziti immediately can cause the layers to fall apart. Allow the dish to rest for at least 10 minutes after baking. This resting period helps the layers set and makes serving easier.
- Neglecting to Taste the Sauce: A bland sauce can ruin your baked ziti. Always taste and adjust the seasoning of your sauce before mixing it with the pasta. This ensures your dish is flavorful and perfectly seasoned.
Storage and Reheating Tips
- Store leftover baked ziti in an airtight container to maintain freshness and prevent odors from the fridge from affecting the dish.
- Refrigerate the baked ziti within two hours of cooking to maintain food safety. It can be kept in the refrigerator for up to 3-4 days.
- For longer storage, freeze the baked ziti in a freezer-safe container or wrap it tightly in aluminum foil and place it in a heavy-duty freezer bag. It can be frozen for up to 2-3 months.
- When ready to reheat, if the ziti is frozen, thaw it overnight in the refrigerator for the best results.
- To reheat in the oven, preheat to 350°F (175°C). Transfer the ziti to an oven-safe dish, cover with aluminum foil to prevent drying out, and heat for approximately 20-25 minutes or until warmed through.
- For quicker reheating, use the microwave. Place a portion of the ziti on a microwave-safe plate, cover with a microwave-safe lid or wrap, and heat on medium power in 60-second intervals, stirring in between until hot.
- Tip: Add a little bit of water or sauce before reheating to help retain moisture and prevent the pasta from drying out.
- Always check that the internal temperature of the reheated ziti reaches at least 165°F (74°C) to ensure it is safe to eat.
Frequently Asked Questions
Frequently Asked Questions
Q: Can I use a different type of pasta instead of ziti?
- Yes, you can use other pasta types like penne or rigatoni as they have a similar shape and texture.
Q: What can I substitute for ricotta cheese?
- Try using cottage cheese or mascarpone as alternatives; both provide a creamy texture.
Q: How can I prevent the baked ziti from becoming dry?
- Ensure the pasta is well-coated with sauce and cover the dish with foil before baking to retain moisture.
Q: Can I make baked ziti ahead of time?
- Yes, you can assemble the dish a day in advance, refrigerate it, and then bake it before serving.
Q: What meat options can I use in this recipe?
- Common choices include ground beef, sausage, or turkey, but you can also use a combination of these.
Q: How do I know when the baked ziti is fully cooked?
- Look for a bubbling sauce around the edges and a slightly golden top as indicators of doneness.
Final Thoughts
This Baked Ziti Recipe is a comforting classic that brings together rich tomato sauce, melted cheese, and perfectly cooked pasta for a dish that’s both hearty and satisfying. What makes it truly special is its simplicity and the way it can bring the whole family together around the dinner table. It’s a true testament to the idea that sometimes the most delicious meals are the ones made with just a few quality ingredients.
Feel free to make this recipe your own by adding your favorite ingredients, like spicy sausage or fresh vegetables, to tailor it to your taste. The joy of cooking lies in experimenting and creating flavors that you and your loved ones will cherish. Don’t hesitate to put your own spin on this classic dish and make it a staple in your home.
We warmly invite you to try this Baked Ziti Recipe and experience the comfort of a home-cooked Italian meal. Whether you’re cooking for yourself or sharing with others, this dish is sure to become a beloved favorite. Happy cooking!

Hi, I’m Katie Dawson, the owner, cook, and storyteller behind Little More Lovely. I run a small café in a cozy corner of Seattle, where the smell of freshly baked bread meets the hum of neighborhood chatter. I’ve spent years learning how food can bring people together, both as a professional and as someone who loves to share meals with family and friends.

