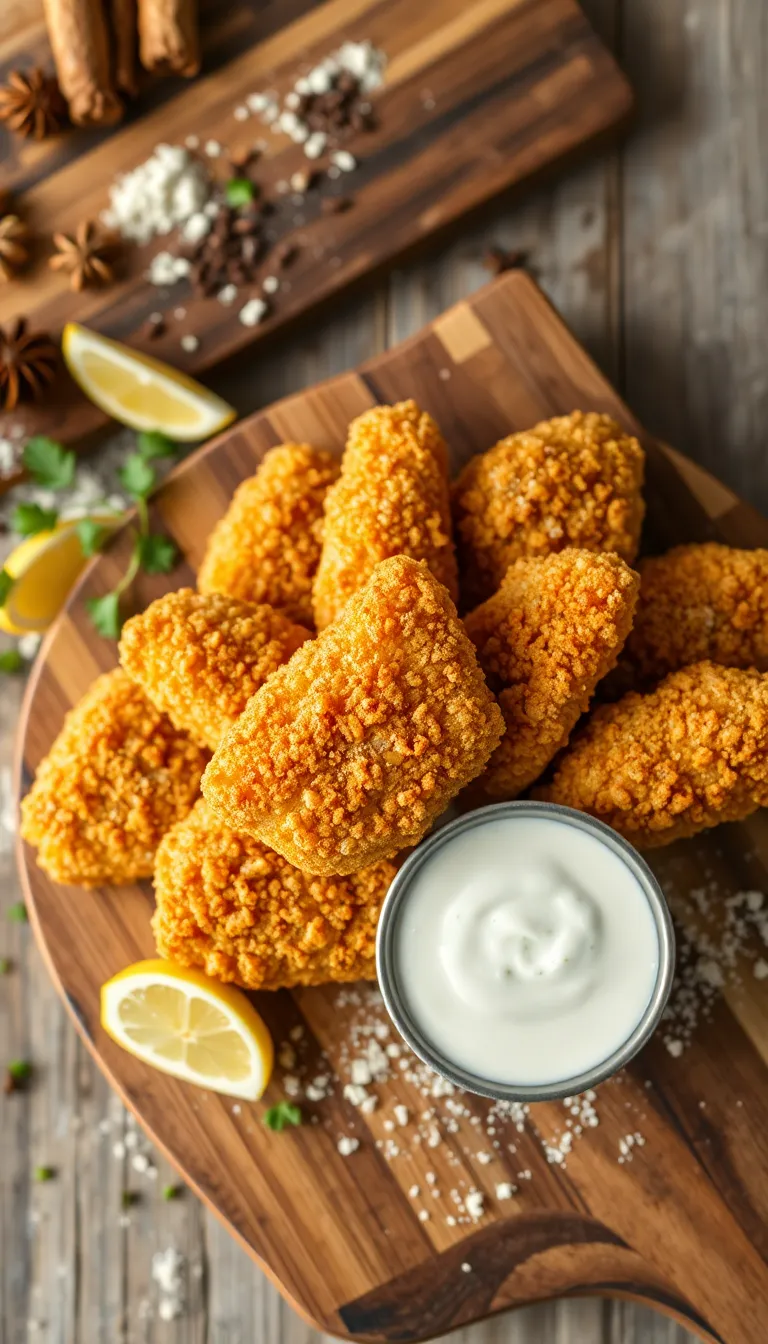
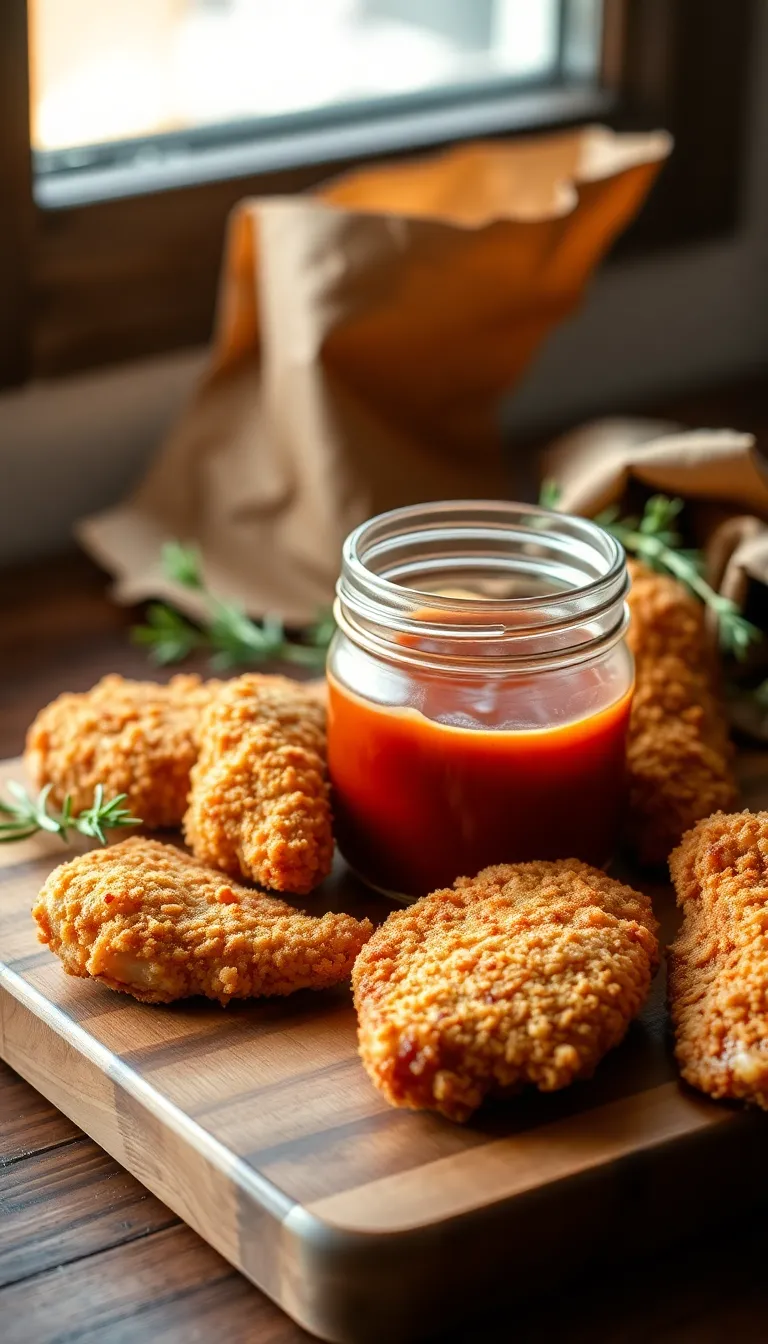
Get ready to transform your kitchen into a haven of irresistible aromas with our Crispy Chicken Tenders recipe. Whether you’re a beginner eager to nail your first chicken dish or a seasoned cook looking to add a reliable favorite to your repertoire, this recipe promises a delightful crunch with every bite. The secret lies in the perfect blend of spices that coat the chicken, delivering a mouthwatering flavor explosion.
Imagine biting into a tender that’s crispy on the outside yet juicy and tender on the inside. With a hint of paprika and garlic adding depth to the savory coating, these tenders are sure to become a family favorite. Embrace the joy of cooking as you effortlessly create a dish that’s both satisfying and simple, ensuring success in your culinary adventure.
About This crispy chicken tenders Recipe
- Incredible Crunch: These chicken tenders are coated in a perfectly seasoned breadcrumb mixture that delivers a satisfying crunch with every bite.
- Quick and Easy: With a prep time of just 15 minutes, you can have these crispy delights on the table in under 30 minutes.
- Family-Friendly: Loved by both kids and adults alike, this recipe is perfect for a weeknight dinner or a casual gathering.
- Healthier Option: By baking instead of frying, these tenders are a lighter alternative without sacrificing flavor or texture.
- Customizable Flavor: Easily adjust the seasoning to suit your taste, whether you prefer a spicy kick or a milder profile.
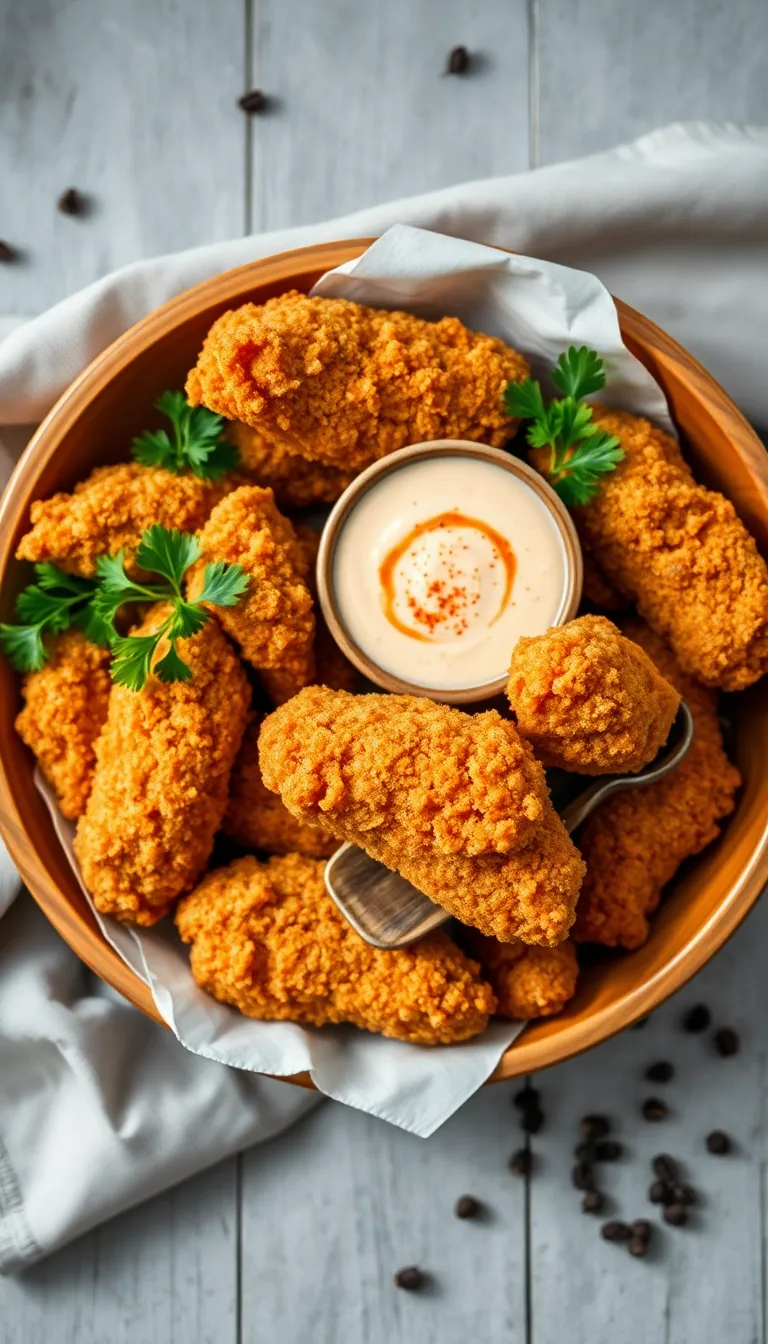
- Versatile Serving Options: Perfect as a main dish, or serve as a fun appetizer with your favorite dipping sauces.
Why You’ll Love This Recipe
- Quick and Easy: This recipe takes less than 30 minutes from start to finish, making it perfect for a busy weeknight dinner.
- Perfectly Crispy: The secret blend of spices and breadcrumbs ensures every bite is deliciously crunchy, without the need for deep frying.
- Kid-Friendly: Loved by kids and adults alike, these chicken tenders are a hit at family meals and gatherings.
- Healthier Option: Baked instead of fried, these tenders provide a lighter alternative to traditional fried chicken strips.
- Versatile Flavors: Customize the seasoning to your taste, whether you prefer a classic taste or a spicy kick.
- Great for Meal Prep: Make a batch ahead of time and enjoy them throughout the week, whether in salads, wraps, or as a snack.
Ingredients
- 1 lb chicken tenders (or chicken breast cut into strips)
- 1 cup all-purpose flour
- 1 tsp salt
- 1/2 tsp black pepper
- 1 tsp garlic powder
- 1/2 tsp onion powder
- 1/4 tsp paprika
- 2 large eggs
- 2 tbsp milk (can substitute with buttermilk for a tangy flavor)
- 1 1/2 cups panko breadcrumbs
(Panko breadcrumbs are Japanese-style breadcrumbs that provide extra crunch)
- 1/2 cup grated Parmesan cheese
(optional for added flavor)
- Vegetable oil for frying (enough to fill the pan about 1 inch deep)
- Lemon wedges for serving (optional)
- Fresh parsley for garnish (optional)
Kitchen Tools You’ll Need
- Mixing Bowls: Used for combining the chicken with seasonings and coating mixtures. A set of various sizes is ideal.
- Whisk or Fork: Essential for beating eggs to create an even egg wash for coating the tenders.
- Baking Sheet: Perfect for arranging the coated chicken tenders before cooking, ensuring they remain crisp and evenly spaced.
- Wire Rack: Placing a wire rack on top of the baking sheet allows air to circulate around the chicken tenders, ensuring they cook evenly and stay crispy. If unavailable, a baking sheet lined with parchment paper can be used.
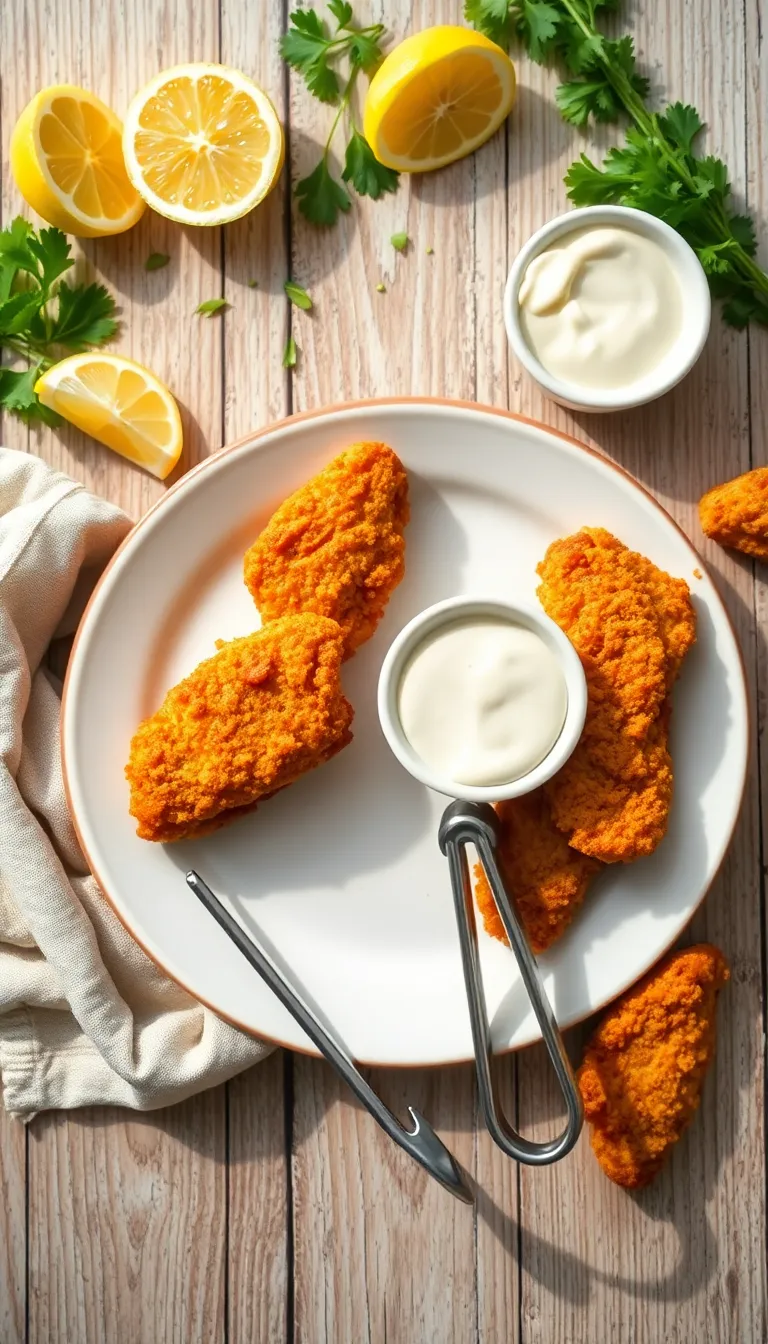
- Tongs: Useful for flipping and handling the chicken tenders without losing the coating or burning your fingers.
- Meat Thermometer: Ensures the chicken tenders are cooked through to a safe internal temperature of 165°F (74°C). If not available, cutting into a piece to check for doneness is an alternative.
- Deep Fryer or Large Skillet: If frying, a deep fryer or large skillet is needed to accommodate the oil and ensure even cooking. A heavy-bottomed pot can also work well.
Preparation Steps
- Preheat your oven to 400°F (200°C) and line a baking sheet with parchment paper for easy cleanup.
- Slice chicken breasts into strips about 1 inch wide, ensuring uniform thickness for even cooking.
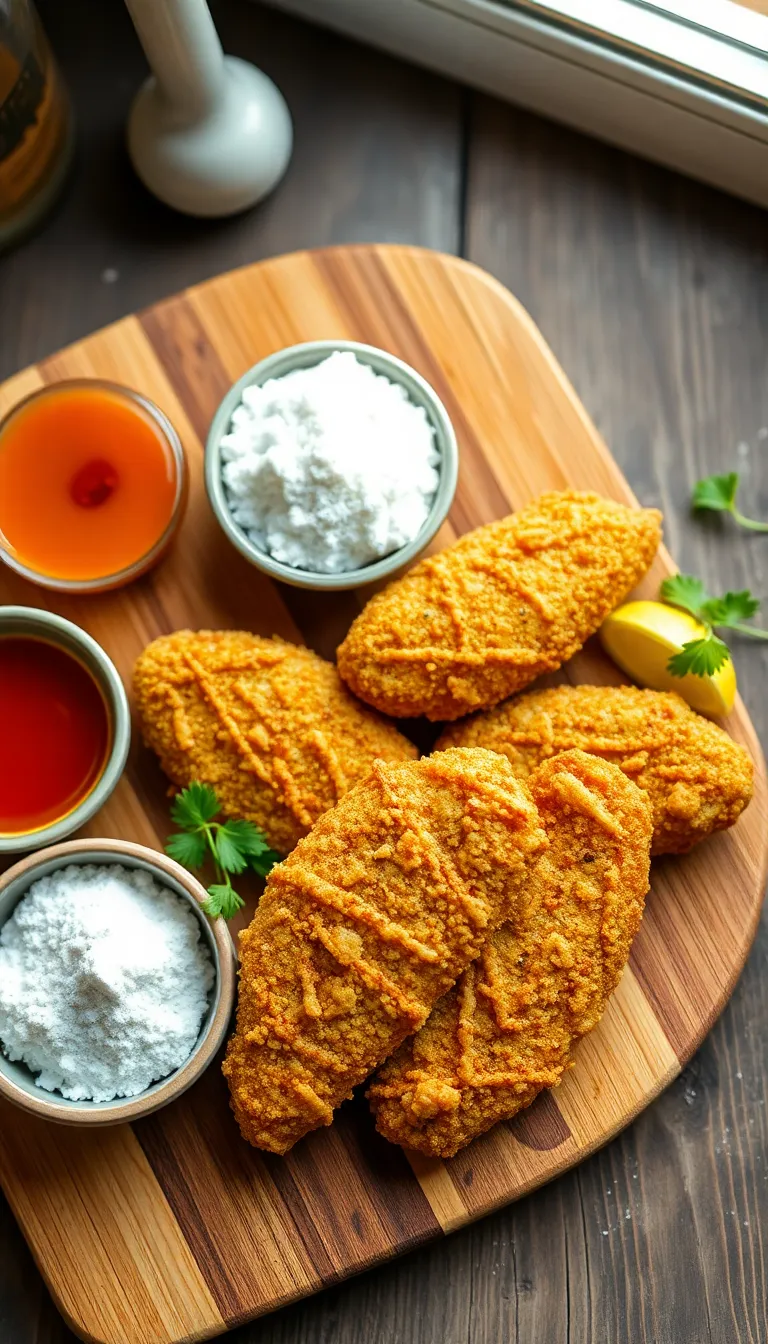
- In a shallow dish, combine breadcrumbs, paprika, salt, and pepper. Mix well to distribute the seasonings evenly.
- In a second shallow dish, whisk eggs until fully beaten and smooth.
- Dip each chicken strip first into the egg mixture, letting any excess drip off, then coat thoroughly in the breadcrumb mixture. Ensure the chicken is fully covered for maximum crispiness.
- Arrange the coated chicken strips on the prepared baking sheet, leaving space between each piece for even heat circulation.
- Bake in the preheated oven for 15-20 minutes, or until the chicken is golden brown and the internal temperature reaches 165°F (74°C). The coating should be crispy and the chicken should be juicy.
- Remove from the oven and let the chicken tenders rest for a few minutes before serving, allowing the juices to redistribute.
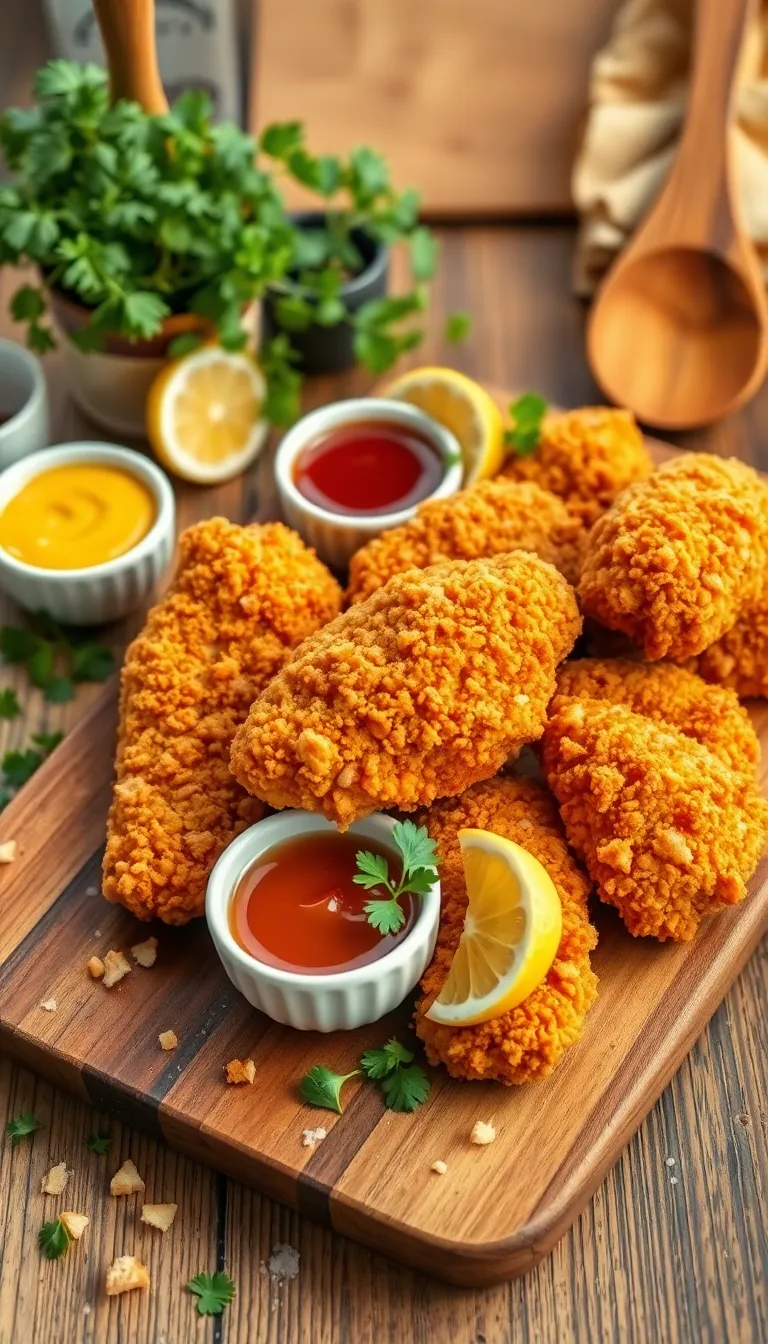
Serving Suggestions

- Classic French Fries: Pair your crispy chicken tenders with a side of golden, straight-cut fries. The crispy textures complement each other perfectly, making it a classic combination that everyone loves.
- Fresh Garden Salad: Serve alongside a fresh garden salad with mixed greens, cherry tomatoes, cucumbers, and a light vinaigrette. This adds a refreshing contrast and balances the richness of the chicken tenders.
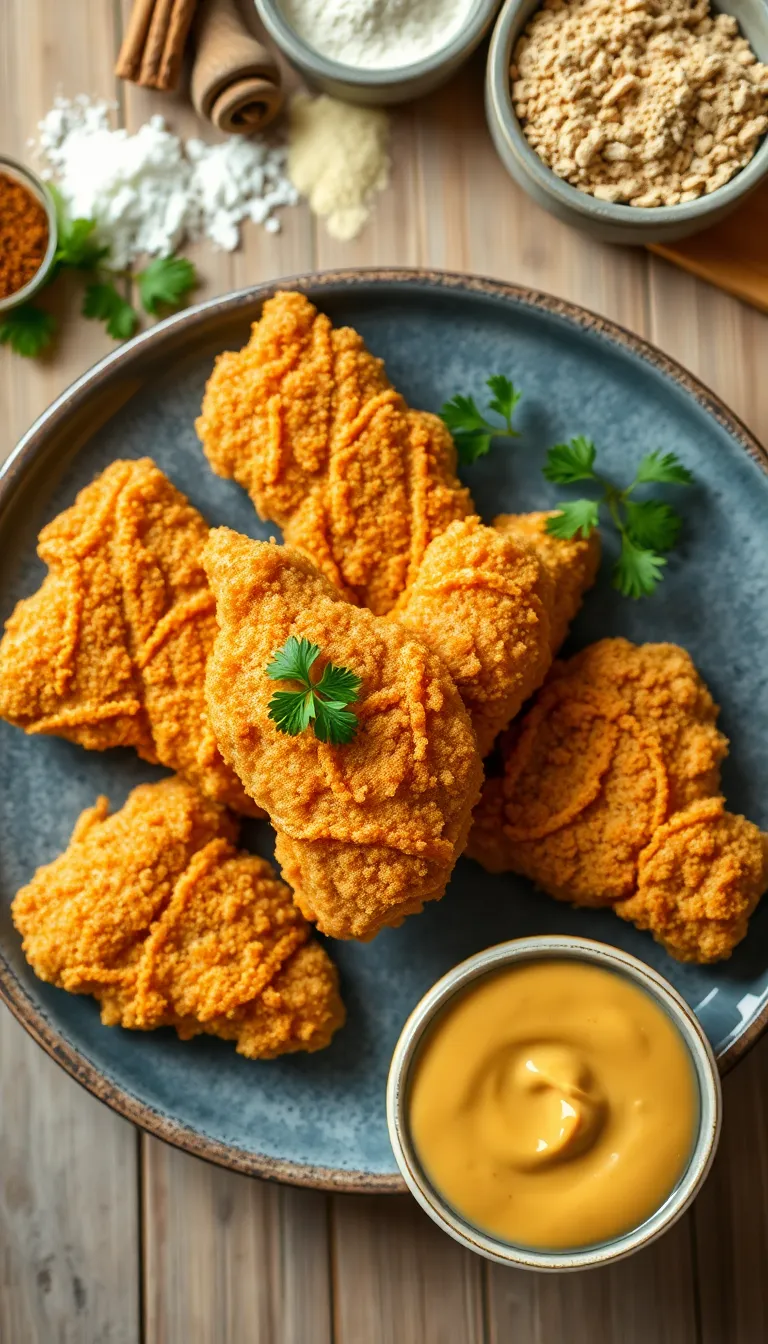
- Honey Mustard Dipping Sauce: Enhance the flavor of the chicken tenders with a homemade honey mustard sauce. The sweet and tangy notes provide an excellent counterpoint to the savory chicken.
- Coleslaw: A creamy coleslaw offers a cool and crunchy side option. The creamy dressing and crisp cabbage provide a delightful textural contrast to the chicken tenders.
- Loaded Mashed Potatoes: Serve with creamy mashed potatoes topped with cheese, bacon bits, and chives. This hearty accompaniment makes the meal more filling and adds a comforting, indulgent touch.
- Lemon Wedges: Garnish the chicken tenders with lemon wedges. A squeeze of fresh lemon juice brightens up the flavors and adds a zesty freshness that elevates the dish.
Pro Tips for Perfect Results
- Double Dredge for Extra Crunch: For ultra-crispy chicken tenders, dip each piece in the flour mixture, then the egg wash, and back into the flour. This double coating creates an extra layer of crunch that holds up well during frying.
- Chill the Breaded Tenders: After breading, place the chicken tenders on a baking sheet and let them rest in the refrigerator for 30 minutes. This helps the coating adhere better, resulting in less flour loss during frying.
- Use Buttermilk for Tender Juiciness: Soak the chicken tenders in buttermilk for at least an hour before breading. The acidic nature of buttermilk tenderizes the meat, ensuring your chicken stays juicy and flavorful.
- Season at Every Step: Add salt and pepper not only to the flour mixture but also to the buttermilk marinade and egg wash. Layering flavors at each step creates a well-seasoned crust and enhances the overall taste.
- Preheat the Oil Fully: Ensure your frying oil reaches a temperature of 350°F (175°C) before adding the chicken. Using a cooking thermometer ensures the perfect frying temperature, preventing greasy or undercooked tenders.
- Chef’s Secret – Add Cornstarch to Flour: Mix a tablespoon of cornstarch into your flour. This secret ingredient absorbs moisture and enhances crispiness, giving the tenders an irresistibly crunchy texture.
Final Thoughts: Mastering the art of crispy chicken tenders takes a little practice, but with these expert tips, you’re well on your way to creating a dish that’s perfectly crunchy and bursting with flavor. Remember, the key is in the details—like pre-chilling your tenders and using buttermilk for marination. Enjoy your cooking adventure!
Common Mistakes to Avoid
- Overcrowding the Pan: This mistake often occurs when trying to cook too many tenders at once, which lowers the pan’s temperature and results in steaming rather than frying. To avoid this, cook in batches, ensuring enough space between each piece for even cooking and crispiness.
- Skipping the Resting Step After Breading: Skipping the resting period can cause the breading to fall off during frying. Allow the breaded tenders to rest on a wire rack for at least 15 minutes before cooking. This helps the coating adhere better and results in a crispier finish.
- Using Cold Chicken: Starting with cold chicken can cause the tenders to cook unevenly. For best results, let the chicken come to room temperature for about 15-20 minutes before breading and frying, ensuring even cooking throughout.
- Not Preheating the Oil: Frying in oil that isn’t hot enough can cause the chicken to absorb more oil and become greasy. Use a thermometer to maintain the oil temperature between 350°F and 375°F. Preheat the oil properly to achieve a crispy, non-greasy texture.
- Ignoring Oil Temperature Drops: Adding too many tenders at once can lower the oil temperature quickly, affecting crispiness. Monitor and adjust the heat as needed to maintain the correct frying temperature, ensuring each batch cooks perfectly.
- Improper Drainage After Frying: Placing cooked tenders directly on paper towels can trap steam, making them soggy. Instead, drain them on a wire rack set over a baking sheet to keep them crispy and allow excess oil to drip away.
Storage and Reheating Tips
Storage and Reheating Tips
- Allow to Cool: Let the chicken tenders cool to room temperature before storing to prevent condensation and sogginess.
- Refrigeration: Place chicken tenders in an airtight container or wrap them tightly in aluminum foil or plastic wrap. Store in the refrigerator for up to 3-4 days.
- Freezing: For longer storage, arrange chicken tenders in a single layer on a baking sheet and freeze until solid. Then, transfer to a freezer-safe bag or container, removing as much air as possible. Label with the date, and store for up to 2 months.
- Reheating in the Oven: Preheat your oven to 375°F (190°C). Place chicken tenders on a baking sheet lined with parchment paper and heat for about 10-15 minutes, or until warmed through and crispy. This method helps retain their crispiness.
- Reheating in an Air Fryer: Set the air fryer to 350°F (175°C) and cook for 3-5 minutes, checking occasionally, until heated through and crispy.
- Microwave Caution: Reheating in the microwave is not recommended as it can result in a loss of crispiness and a rubbery texture.
- Food Safety: Ensure that chicken tenders reach an internal temperature of 165°F (74°C) when reheated to guarantee safety. Avoid leaving them at room temperature for more than 2 hours to prevent bacterial growth.
Frequently Asked Questions
Frequently Asked Questions
Q: Can I use chicken thighs instead of chicken breasts?
- Yes, you can. Chicken thighs will be juicier and may require a slightly longer cooking time for full doneness.
Q: What can I use as a substitute for buttermilk?
- If you don’t have buttermilk, mix 1 cup of milk with 1 tablespoon of lemon juice or vinegar and let it sit for 5-10 minutes.
Q: How do I ensure the coating stays crispy after frying?
- Make sure the oil is hot enough, around 350°F (175°C), and avoid overcrowding the pan which can lower the oil temperature.
Q: Why are my chicken tenders soggy?
- This can happen if the oil is not hot enough, or if the tenders are not drained properly on a wire rack after frying.
Q: Can I make these chicken tenders in an air fryer?
- Yes, you can. Cook them at 400°F (200°C) for about 10-12 minutes, flipping halfway through.
Q: Can I add spices to the coating for extra flavor?
- Absolutely! Add spices like paprika, garlic powder, or cayenne pepper to the flour mixture for a flavorful kick.
Final Thoughts
The Crispy Chicken Tenders Recipe offers a delightful balance of texture and flavor, making it a must-try for any home cook. With its perfectly seasoned coating and juicy interior, it’s a simple yet satisfying dish that can be prepared with ease. This recipe stands out for its ability to bring restaurant-quality chicken tenders right to your kitchen.
Don’t hesitate to make this recipe your own by adding your favorite spices or creating unique dipping sauces to accompany the tenders. Cooking is all about experimentation and creativity, so feel free to let your culinary imagination run wild. Your personal touch will make these chicken tenders even more memorable.
We warmly invite you to try this Crispy Chicken Tenders Recipe and enjoy the delightful experience of homemade comfort food. Happy cooking, and may your kitchen be filled with delicious aromas and joyful moments!

Hi, I’m Katie Dawson, the owner, cook, and storyteller behind Little More Lovely. I run a small café in a cozy corner of Seattle, where the smell of freshly baked bread meets the hum of neighborhood chatter. I’ve spent years learning how food can bring people together, both as a professional and as someone who loves to share meals with family and friends.

